Navigation
Install the app
How to install the app on iOS
Follow along with the video below to see how to install our site as a web app on your home screen.
Note: This feature may not be available in some browsers.
More options
You are using an out of date browser. It may not display this or other websites correctly.
You should upgrade or use an alternative browser.
You should upgrade or use an alternative browser.
Big ol Burban
- Thread starter Addicting
- Start date
Baby steps. mtmuley@mtmuley
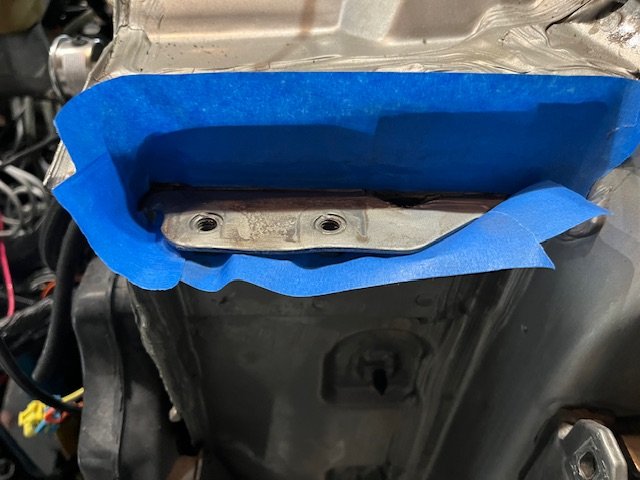
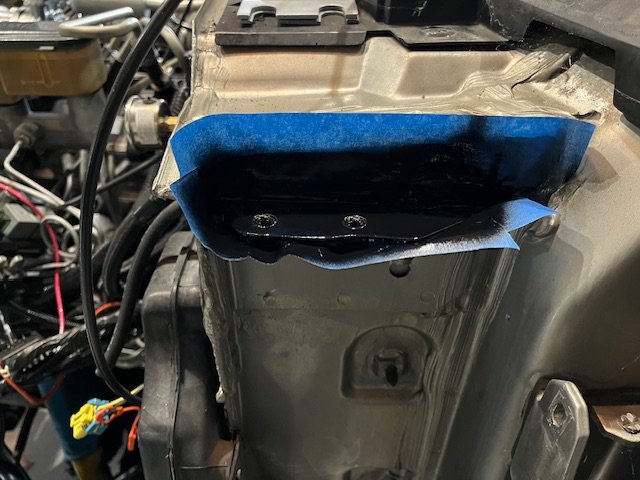
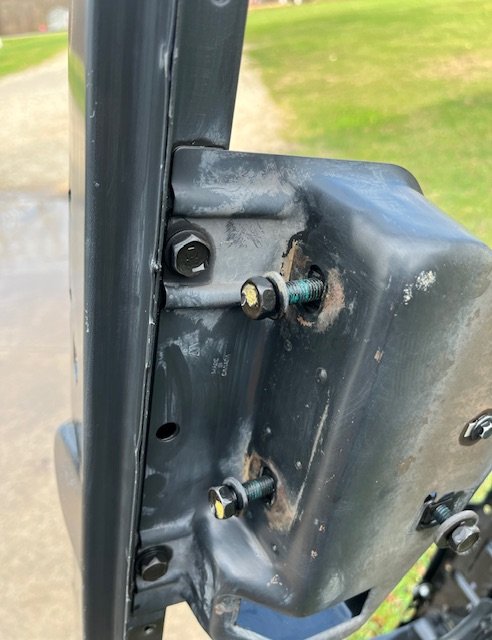
I did my first body work today! Wire wheeled the surface rust off and painted where the fender shims go. They shims are raw steel and had turned orange. You will never see it so no one will know about the runs.
View attachment 347581View attachment 347582
Addicting
Well-known member
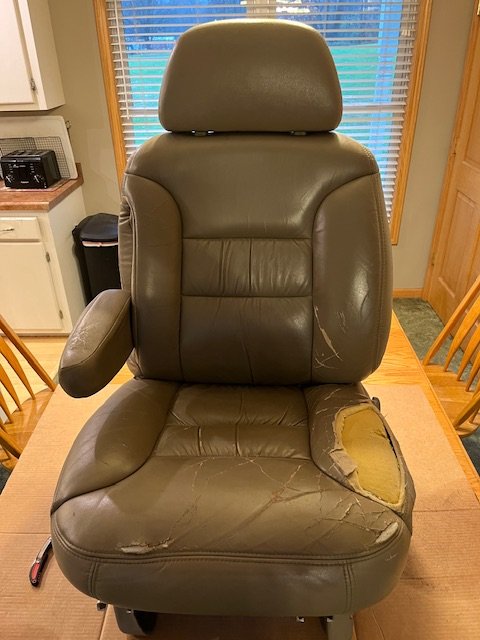
Rained and cold today, so it’s a good day to work on the interior. Installed the new seat upholstery. I’m pretty sure the assembly line guy was paid by the hog nose clip. The filth of 25 years all hides under the seats, took a few minutes to clean it all.
Turned out well but I need to order armrest covers. They don’t match well with the sun fade. The wrinkles will settle out after a few days. Pretty happy with the Seat shop’s product.
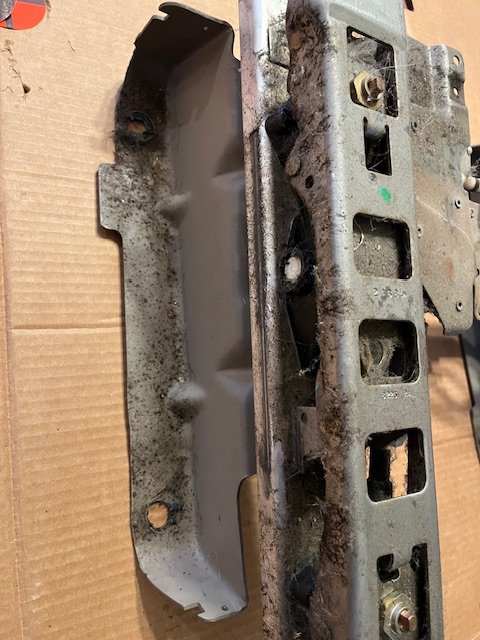
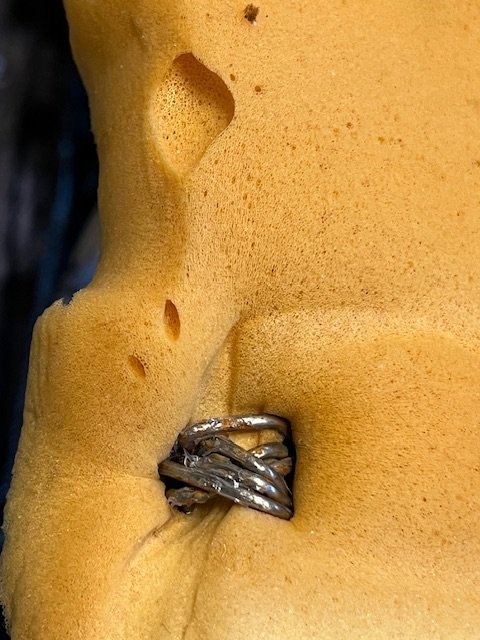
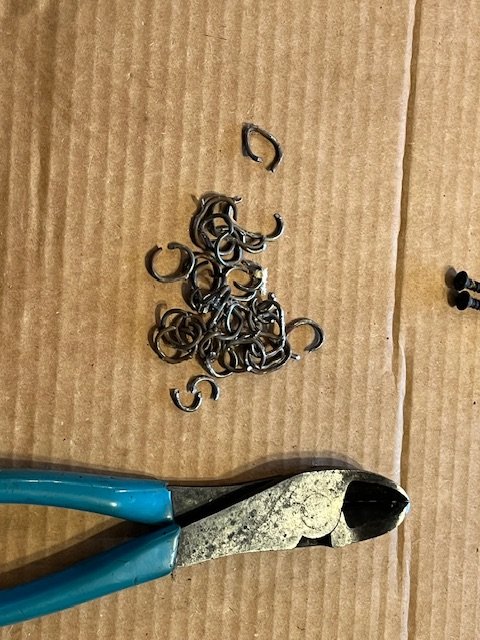
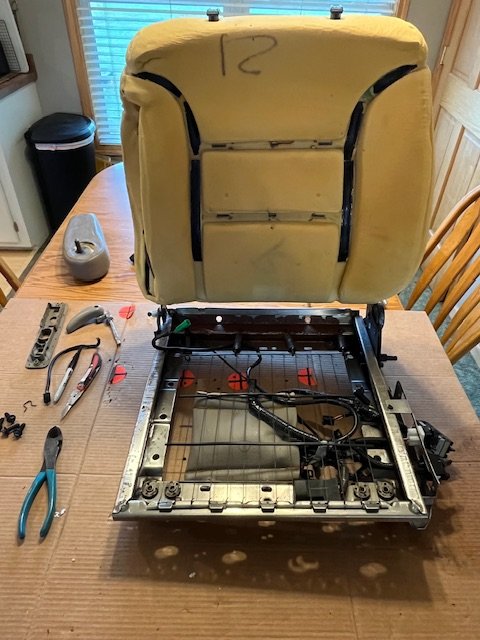
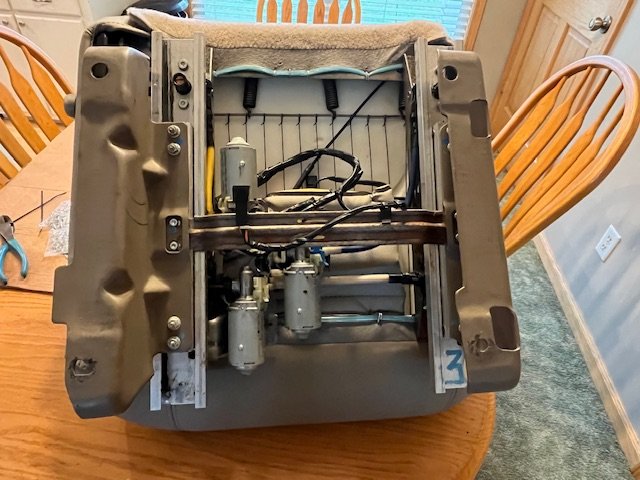
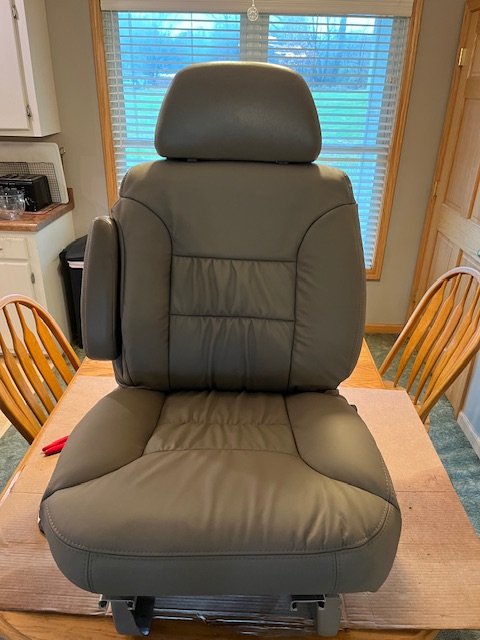
Turned out well but I need to order armrest covers. They don’t match well with the sun fade. The wrinkles will settle out after a few days. Pretty happy with the Seat shop’s product.


Addicting
Well-known member
Today, I put the rear air back together. There is a special kind of hell for GM interior engineers. While this may not look bad it was a painful experience. Overall for dealing with 25 year old plastic I only had one that had to be repaired. Once it drys overnight it will be the last panel installed.
It got completely cleaned out of all the old oil and debris. Then a new pressure switch, orings, and new heater core rubber hose. Out of the gazillion different sized screws, I managed to find where they all went back except 1 lonely screw.
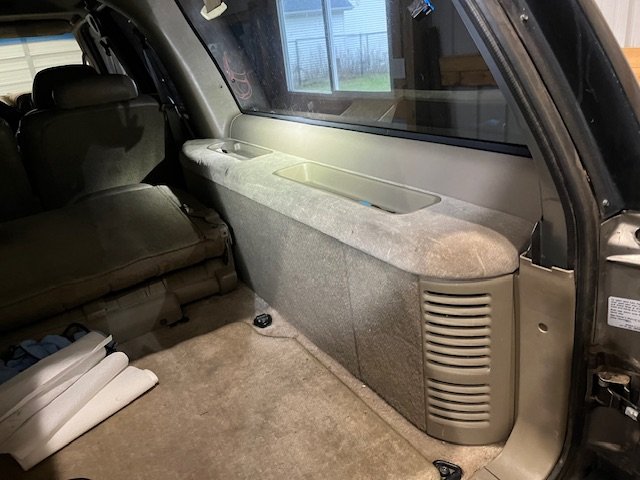
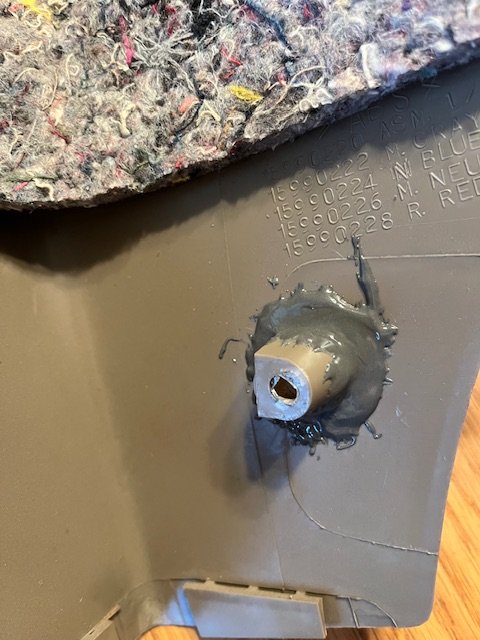
It got completely cleaned out of all the old oil and debris. Then a new pressure switch, orings, and new heater core rubber hose. Out of the gazillion different sized screws, I managed to find where they all went back except 1 lonely screw.


CUElk
Well-known member
My favorite thread of the year. Thanks for sharing
Addicting
Well-known member
Can and the desire to are the struggle. I’m ready to just be able to drive it. I’m still months away from that and getting a little burned out.I said it before. I bet you can paint that thing. mtmuley
The end goal is going to be worth it. mtmuleyCan and the desire to are the struggle. I’m ready to just be able to drive it. I’m still months away from that and getting a little burned out.
Sounds like you need a week or so away from home!Can and the desire to are the struggle. I’m ready to just be able to drive it. I’m still months away from that and getting a little burned out.
Addicting
Well-known member
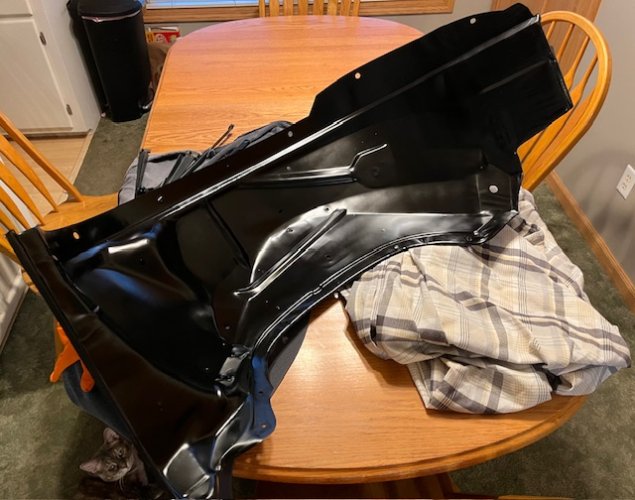
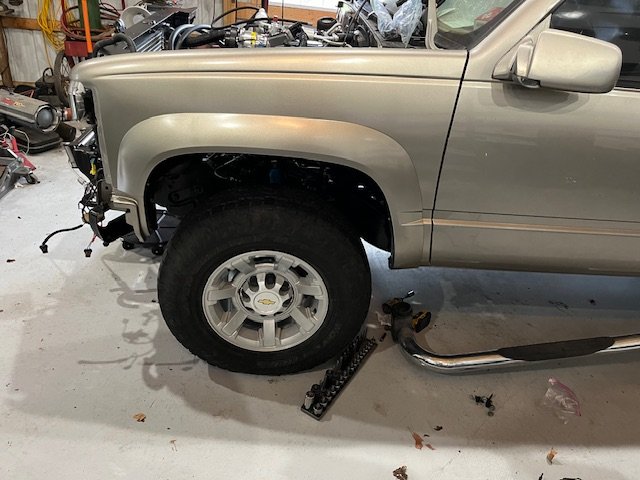
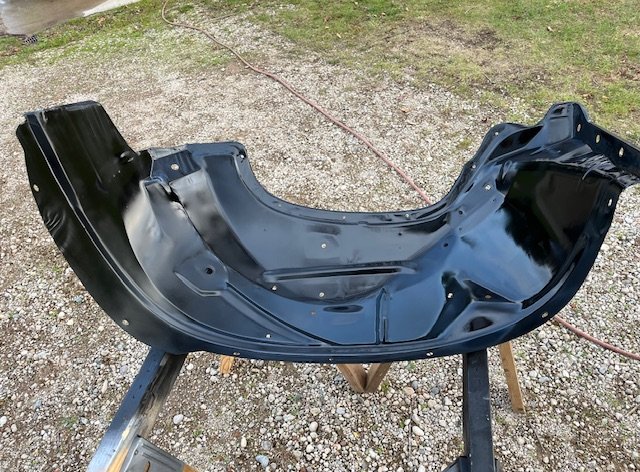
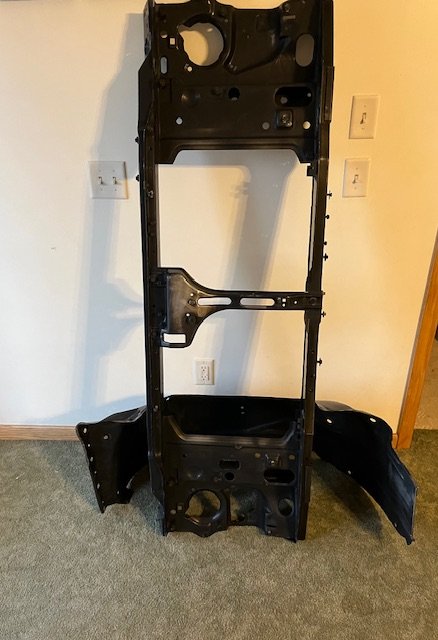
Well, I decided today was the day to put the fenders back on. Upon pulling them out of the barn I realized I should probably start the body work portion. To do all that work on the frame and engine and put ugly fender wells back on was silly. So lots of scrubbing and wet sanding to get them ready for paint. I tried to paint one but it got too cold out.I said it before. I bet you can paint that thing. mtmuley
The paint was pretty rough shape, at some point battery acid had splattered and eaten the paint. You can see both spots in the next two photos.
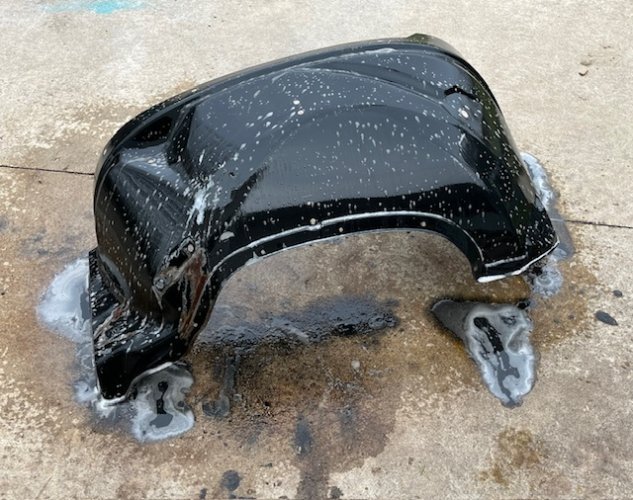
You can see the difference in a prepped area and what it looked like before in the spot I missed. I ended up going over this 4 different times to get it ready for paint.
Tried to paint, it but the temp dropped so fast I had to move it all inside. I will wait till I can heat up a garage stall in a few days.
Attachments
Addicting
Well-known member
Addicting
Well-known member
Addicting
Well-known member
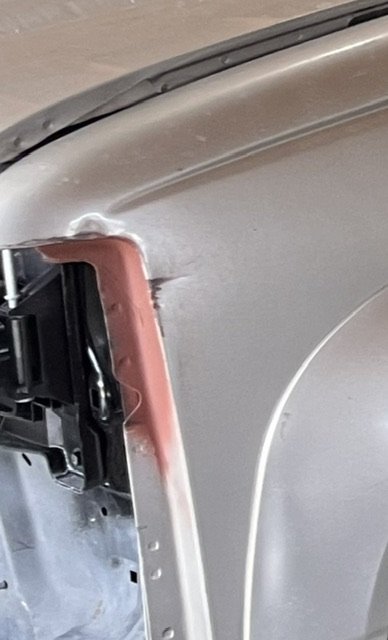
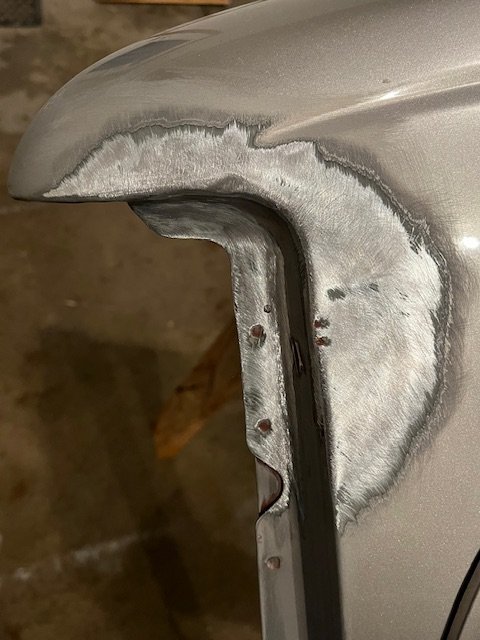
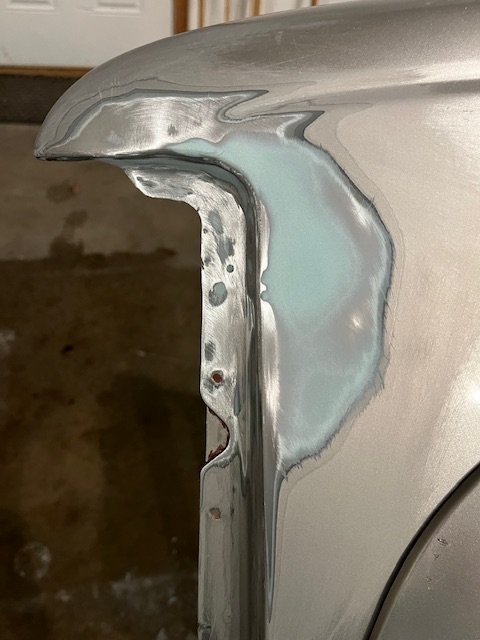
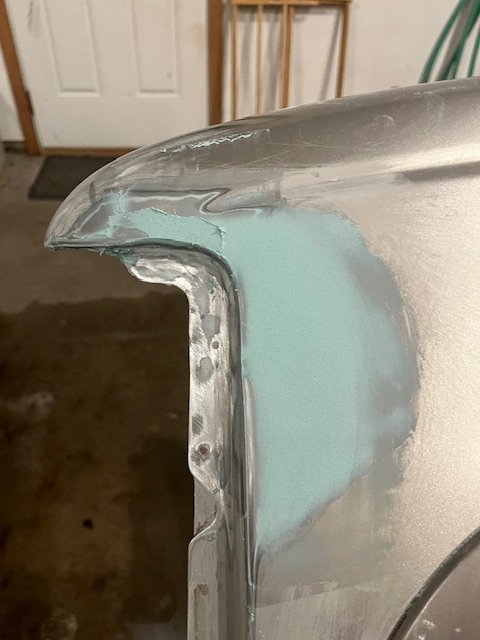
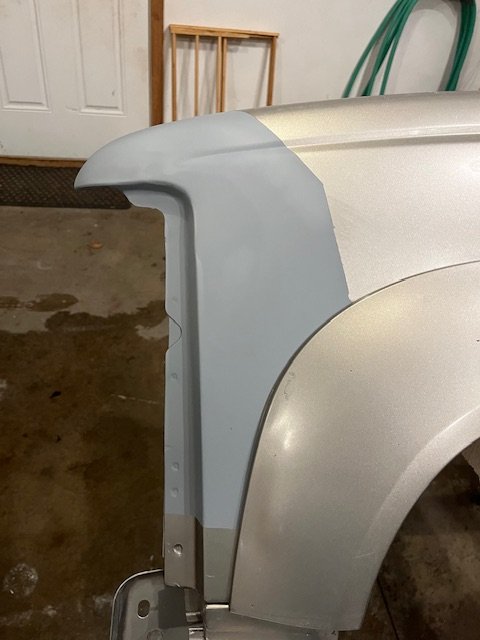
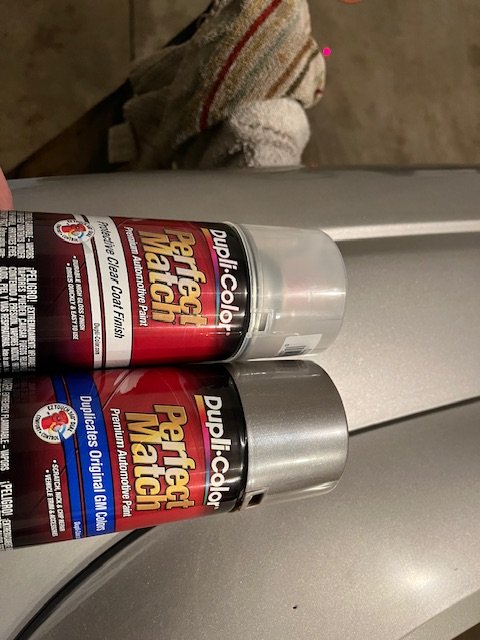
I just want to clearly prove I am not a body man. Also YouTube is a great tool but doesn’t replace actual training. The fender is repaired and painted. Long enough to get me by until I can afford to have a professional shop paint it the proper way.
From 10 feet it looks good, probably better than the rest of the Suburban. But up close you can see where I taped it off. The YouTube video I watched showed how to do it but I did it too heavy and left a line. I tried sanding it out but the panel needed to be stripped back down and I wasn’t going to do it knowing it would be done later when it gets repainted. It was good enough for me and my needs of keeping it from rusting. You can see the stripe in the last pic.
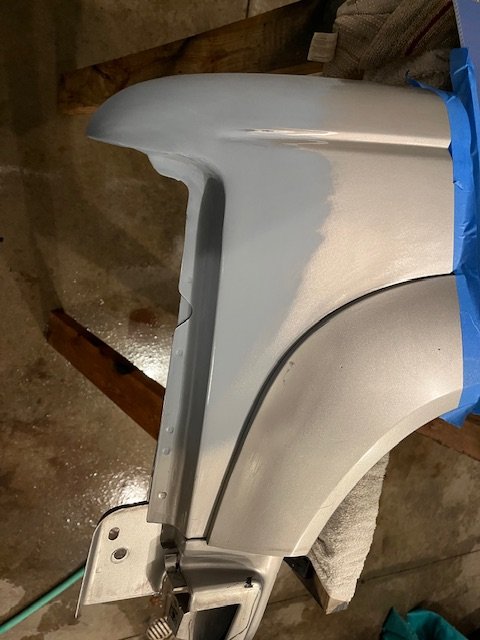
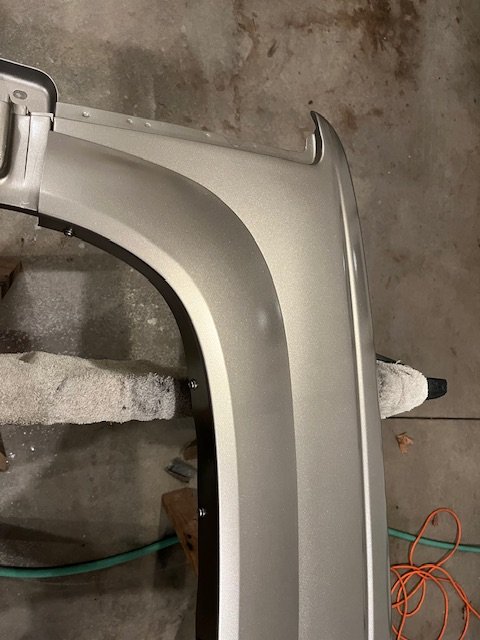
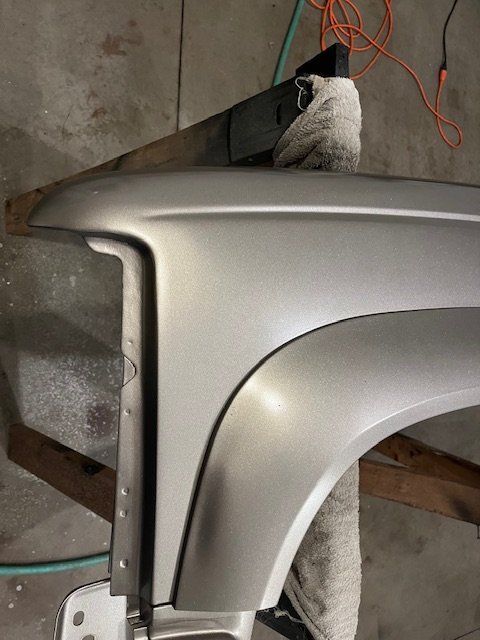
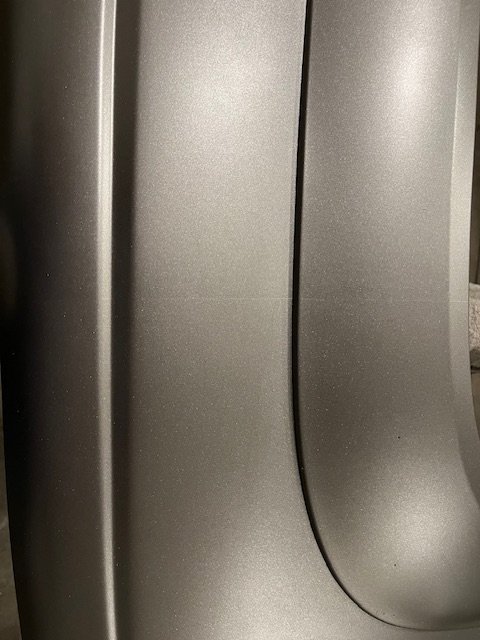
From 10 feet it looks good, probably better than the rest of the Suburban. But up close you can see where I taped it off. The YouTube video I watched showed how to do it but I did it too heavy and left a line. I tried sanding it out but the panel needed to be stripped back down and I wasn’t going to do it knowing it would be done later when it gets repainted. It was good enough for me and my needs of keeping it from rusting. You can see the stripe in the last pic.


noharleyyet
Well-known member
Nice work Addicting!
I can't wait to see this thing. mtmuleyNice work Addicting!
CRJR45
Well-known member
I thought the same thing , looks good from ten feet , we are good ! LOLThat's really not bad! I guess the only option would be paint the whole piece at once.
Addicting
Well-known member
That was my conclusion as well. So, I sanded the whole panel with 600 grit. I hit that line area pretty hard. Then tried putting a heavier pass on the original side and resanding everything with 800. Damn line kept showing up. Finally, that little can ran dry and it is what it is. It got clear coated and sealed into as character.That's really not bad! I guess the only option would be paint the whole piece at once.
Addicting
Well-known member
Gellar
Well-known member
Similar threads
- Replies
- 2
- Views
- 355
- Replies
- 0
- Views
- 353


