beginnerhunter
Well-known member
- Joined
- Feb 15, 2016
- Messages
- 1,320
I forgot about this:
Follow along with the video below to see how to install our site as a web app on your home screen.
Note: This feature may not be available in some browsers.
What about traveling out of state? I'd have to have all brain matter gone before bringing it home. Any tips on accomplishing this in the field and finishing it when home? Thinking of taking a pot and cooking it on a propane camp stove. Then carwash. Sound good? Thanks!
Get a pot, propane stove, some dish soap (and I recommend OxiClean); everything should fit in the pot for transport. Pressure wash at the car wash and that's as far as you need to go. You can whiten the skull later on at home. I personally would make sure the skull is free of ALL flesh, not just the brain. Last thing you need is to stumble upon an overzealous CO who seizes your head and writes you a ticket, then you have to fight/argue with them to get it back, if you get it back...
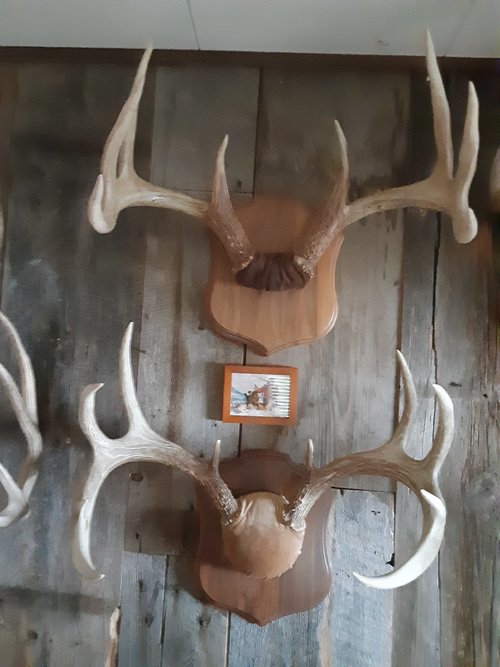
I have a feeling I may have overboiled a deer skull. They aren't falling apart but does anyone know anything I could do now to try to protect it in case I did overboil? I don't want my brother getting mad at me for screwing up his nice buck on the right hahaAll my first attempts I did wrong as I boiled too hard, they lasted a few years and then started falling apart. Maybe it was the hard boil, or waited too long, but man they stunk. If wllm1313 does it in a small apartment it must not be too bad! Hopefully this year I can kill something and learn to do it right, if I get a bull in WY I'll need to do it before I bring it home.
I have a feeling I may have overboiled a deer skull. They aren't falling apart yet but does anyone know anything I could do now to try to protect it in case I did overboil?
I used to paint a 50/50 solution of water/white Elmer's glue on my skulls. I stopped doing it as it didn't really add anything to the finished product if it's done right. I would give that a try if you over boiled it.
Thanks!I used to paint a 50/50 solution of water/white Elmer's glue on my skulls. I stopped doing it as it didn't really add anything to the finished product if it's done right. I would give that a try if you over boiled it.
+2I used to paint a 50/50 solution of water/white Elmer's glue on my skulls. I stopped doing it as it didn't really add anything to the finished product if it's done right. I would give that a try if you over boiled it.
I used to paint a 50/50 solution of water/white Elmer's glue on my skulls. I stopped doing it as it didn't really add anything to the finished product if it's done right. I would give that a try if you over boiled it.
also then new water 50/50 water and hydrogen peroxide. THE ANTLERS DO NOT TOUCH THE WATER. bring up to a boil. as soon as it starts to boil. take out and let the sun dry/bleach it.I always take off as much meat as possible. stick in pot of water with a little bit of oxyclean or dawn (watch out for the bubbles). bring up to a boil. take out as soon as it starts to boil. pressure wash. and continue the cycle till it is to you liking. a whitetail takes about 4 hours from start to finish to cook out the brain and get completely clean.
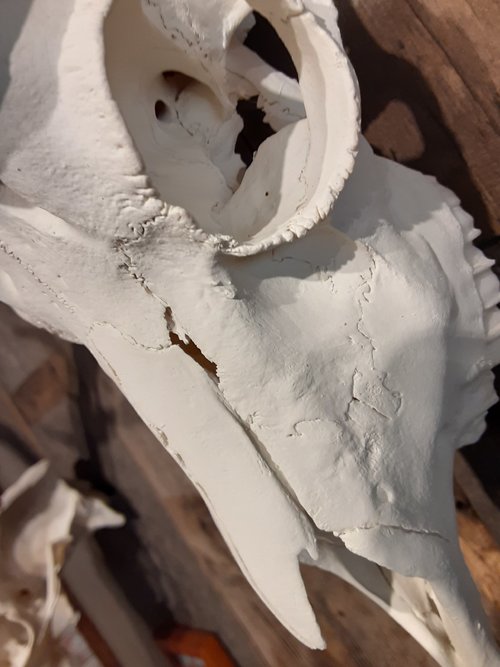
... especially why you don't over boil skulls. I was asked by a buddy to finish a couple of mule deer skulls his dad and him shot in 2018. He had started working on them but gave up due to inexperience. One skull was close to being done and had been boiled with some damage, the other had been clearly over boiled and never finished. This second skull had lots of meat left on it (base of the antlers were wrapped in hide, lots of meat on the back of the skull, meat inside the nose, etc) and had been stored in a shed on the dirt floor. Before cleaning it up, I could already tell it would end up with a very rough finish, to say the least.


The first cleaner skull went well, I simmered/degreased it for 30 minutes or so and pressure washed the gunk off. It bleached fairly well with some minor stains that are deep in the bone most likely from being boiled too long with no degreasing.
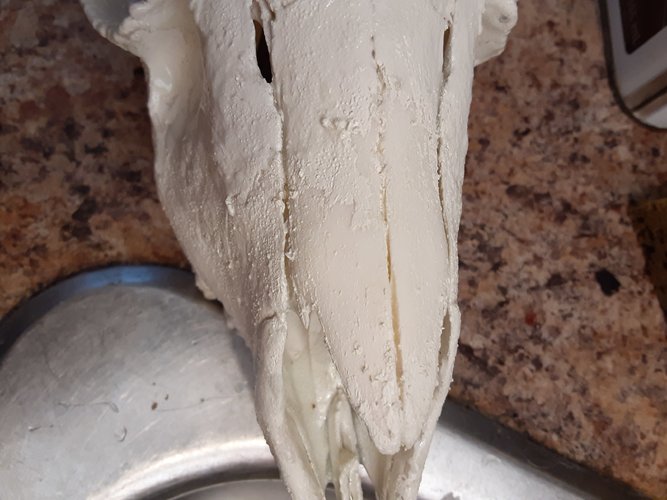
The second skull took a lot of careful work, low heat, constant monitoring and low pressure washing, and still came out looking pretty shitty. The bone was now extremely brittle and stained hard due to the lack of previous degreasing. Three days of bleaching did barely anything to it and it is now missing several pieces of skull, especially around the nose, that dissolved or broke into tiny fragments. I sifted through the pot and did a sweep on my washing area to find pieces to try and find a few missing pieces and the biggest chunk of bone that I found was no bigger than a dime,


Bottom line, this is far from my greatest work, but I still managed to "fix" them. This was a good lesson learned for my buddy and I hope it serves as a "warning" for guys who want to get into making their own European mounts. This by no means is meant to scare guys away from doing their own euros, this is just a good reminder to be careful. When it comes to boiling, don't, simmer and monitor your progress regularly, use a degreasing agent like Dawn dish soap and/or Oxi.
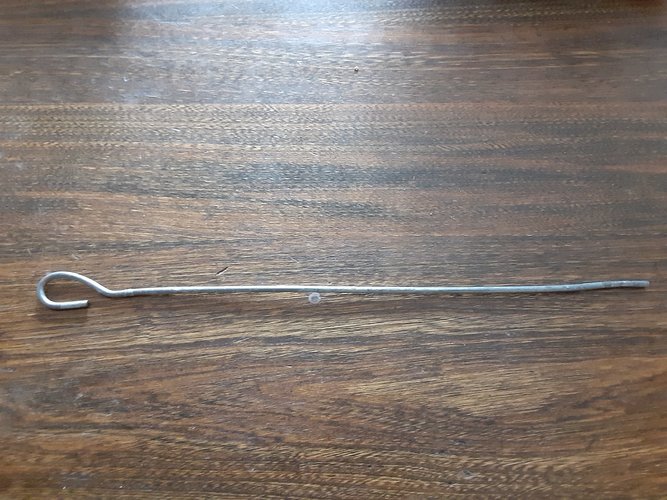
We use this tool for removing brains. Simple and effective. In a variable speed drill at low rpms insert in spinal canal and it will suck out the brain tissue. Avoid high speed or you'll be wearing it. Also useful for removing the honeycomb stuff at back of nasal cavity which can be smelly, especially for skulls that have been sitting around for a year or two before we get them.What about traveling out of state? I'd have to have all brain matter gone before bringing it home. Any tips on accomplishing this in the field and finishing it when home? Thinking of taking a pot and cooking it on a propane camp stove. Then carwash. Sound good? Thanks!
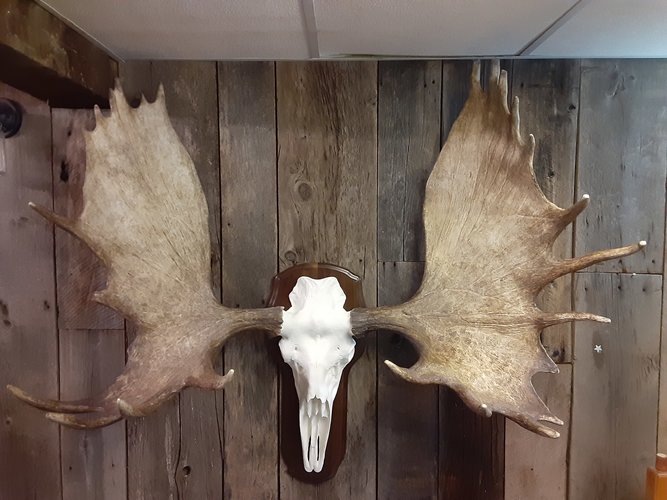
To preserve a client's crumbling homemade disaster I used Varathane Diamond finish in SATIN with good effect. Because it is a latex finish there is very little if any yellowing. And it also dries within ten minutes or so. That helps with dust collecting before it's dry. Put it on with a paintbrush and don't worry too much if a bit gets on the antlers. You'll never be able to tell. In fact this guy's antler bases were also beginning to flake apart so I painted the whole thing ... several coats. Still looked very natural. I think I have some pics on the phone. Yes. Initially I tried salvaging the wreck by making a pedestal cap mount. I thought it was cool but client was not wild about it. So we ordered a two piece fake skull (note the bondo filler between the two halves). It turned out okay. Just make sure you buy satin. It will leave no shine, especially if only one coat. One coat is almost entirely absorbed in the bone. Very difficult to tell it's been painted.I have a feeling I may have overboiled a deer skull. They aren't falling apart but does anyone know anything I could do now to try to protect it in case I did overboil? I don't want my brother getting mad at me for screwing up his nice buck on the right haha
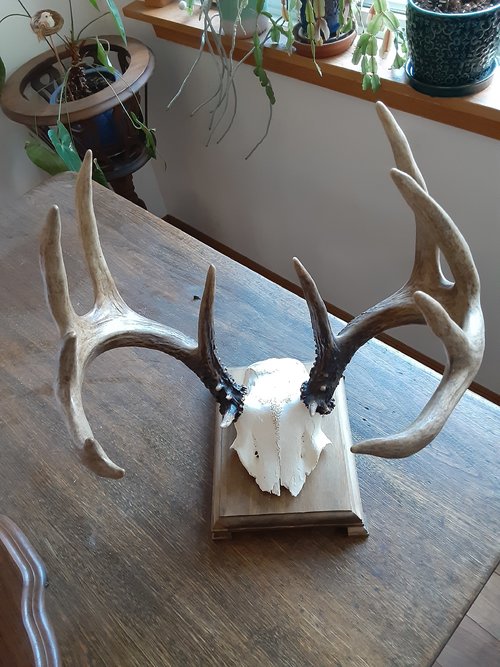
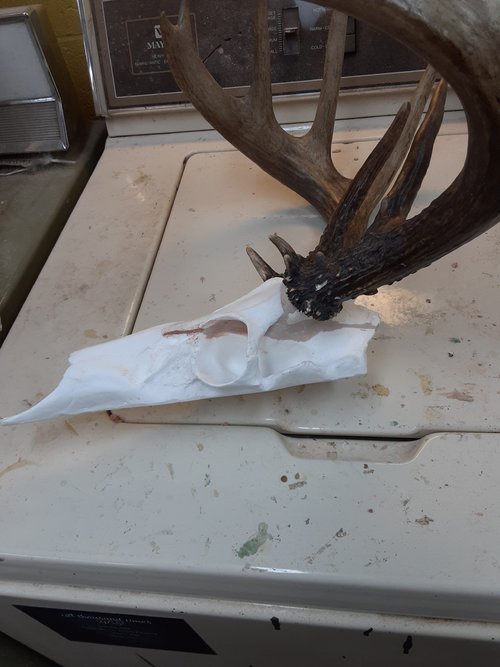
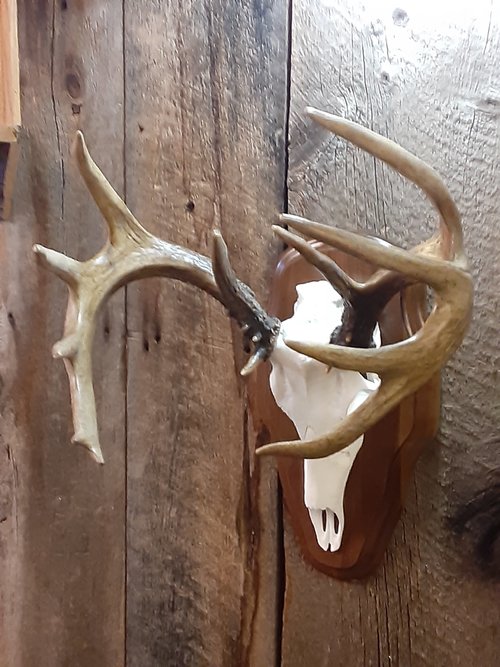
Any oil based finish (e.g. shellac or urethane) will yellow. Use LATEX base Varathane. Very little if any yellowing. And only satin which has almost no sheen. Paint it on with a brush. No problems with overspray.Another way is to spray paint shellac...this will act like glue to hold the sutures back together. Cover the antlers with a plastic bag and tape at the base before you spray. The only drawback here is it can turn a pretty white skull yellow. I boiled my skulls, but after simmering I don't need to worry about loose bones or sutures.
I experimented with epoxy once to preserve the white, but it made my pretty white skull turn very yellow. Anyone experiment with epoxy and get a good result? I saw it once and it made the white skull shine and didn't turn yellow.
