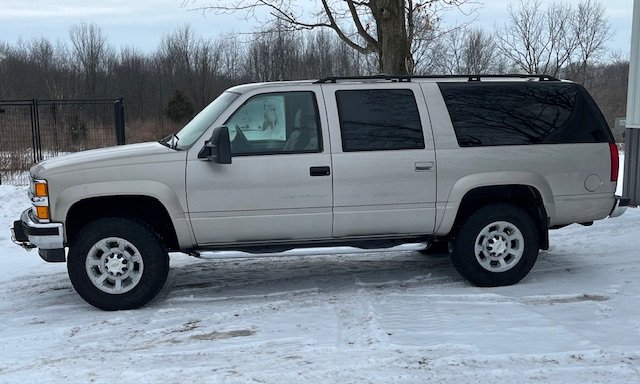
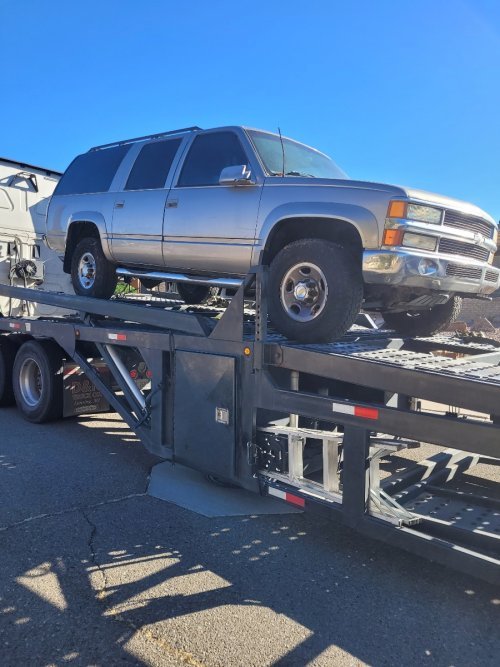
Big ol Burban

Too much estrogen in our house this weekend. The boy and I had to hide in the barn.

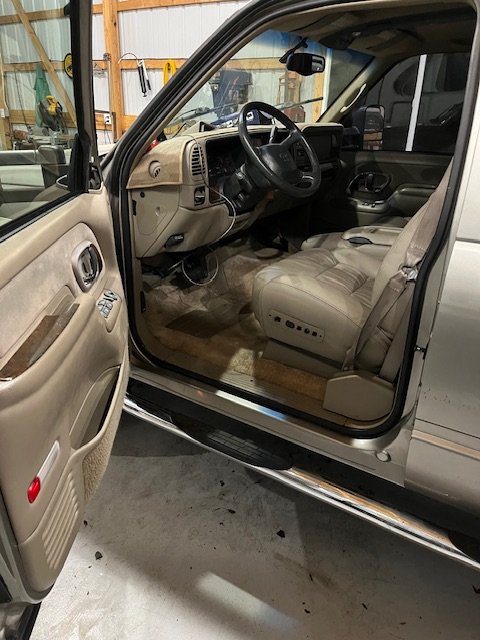
Decided to finish the interior. Had to get the carpet dry so it took some creative heat sources and fans in 27 degree weather. By noon it was ready to start on.

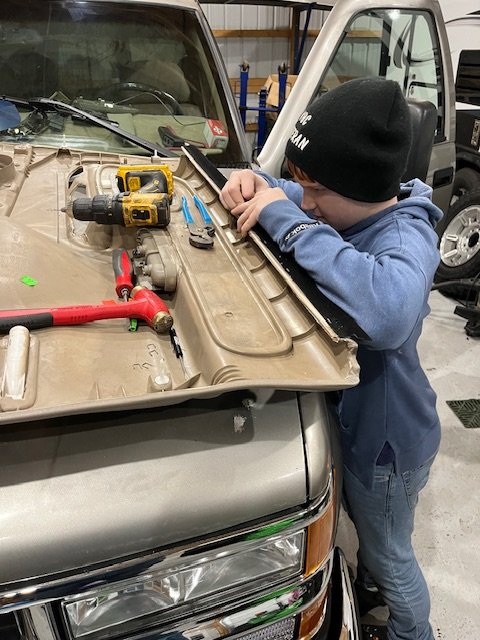
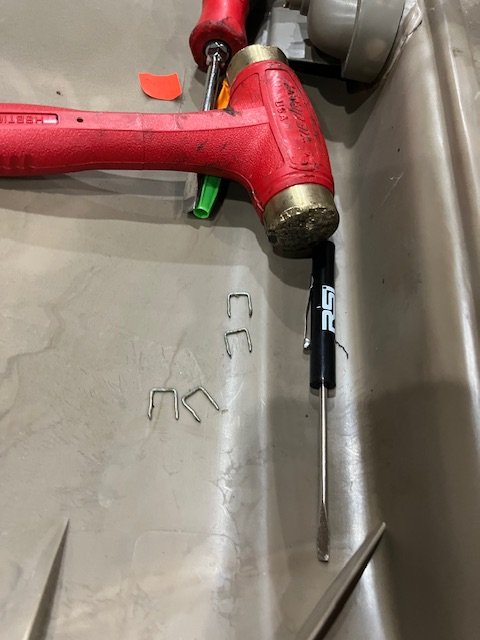
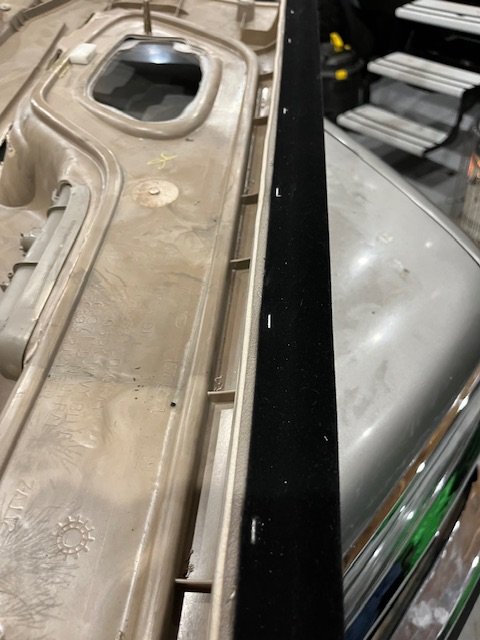
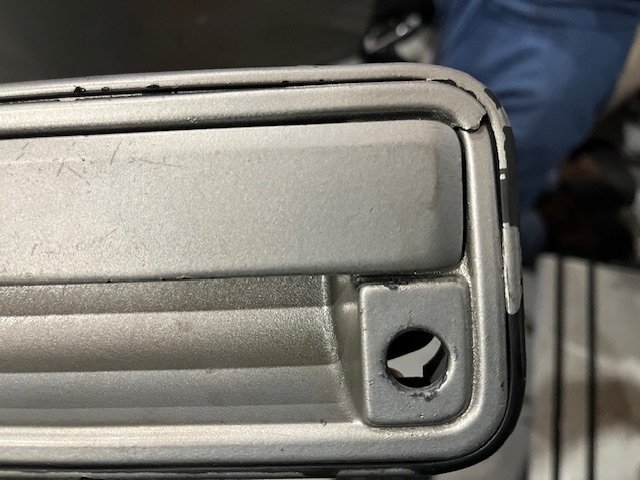
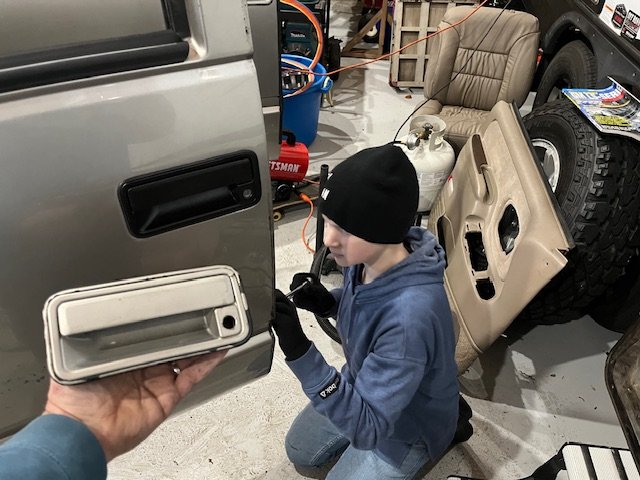
First up was changing out the broken door handle. To get to it the whole door has to get disassembled. Since the window was etched we snagged one from the junkyard a few weeks ago. 25 bucks for an unmolested vintage window. That was a YouTube video to help us figure it out. Went pretty smooth and in about an hour we had it all back together. The window interior sweep was broken. It was a little more difficult to change. Being stapled together and thru plastic, I didn’t have one that worked. We had to salvage the old staples and drill holes to put them back in. Mason did a great job finishing it after I showed him the first few.

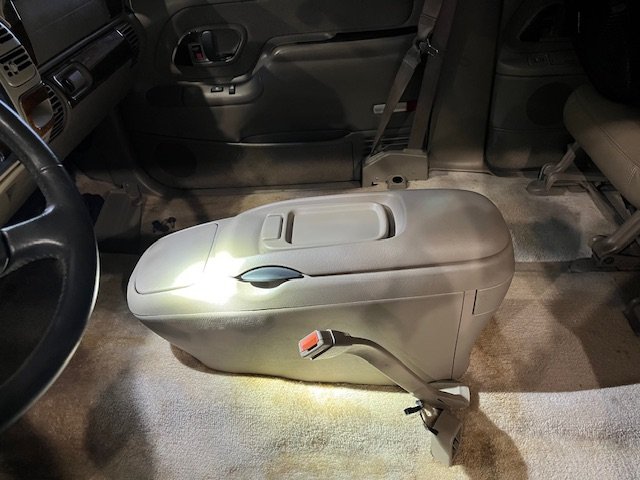
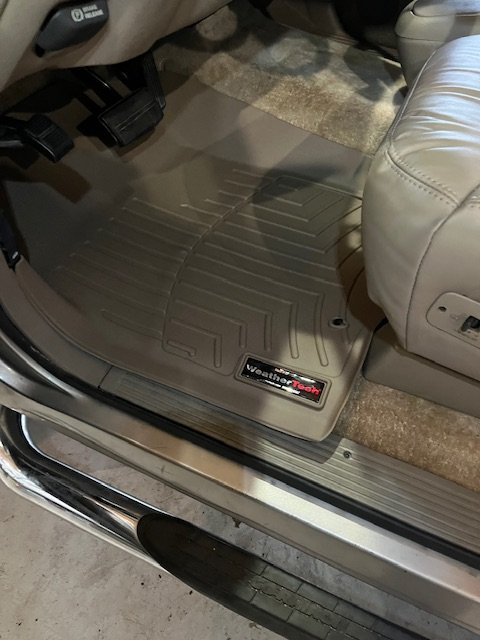
Next was getting the new old stock console in. That was easy once we realized the bracket had been installed 180 degrees. The reupholstered seats were next and that wrapped up the interior.

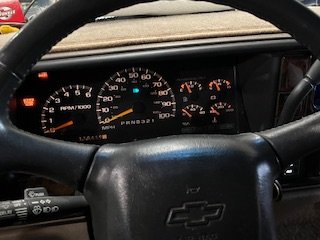
The only thing left is the radio and replacing the light switch while the dash is opened up. I also want to find a bezel to mount a digital dash gauge to monitor the transmission temp. All in all a good day with the boy.
IMG_3770.jpegIMG_3768.jpegIMG_3774.jpegIMG_3775.jpegIMG_3776.jpegIMG_3772.jpegIMG_3777.jpeg
 
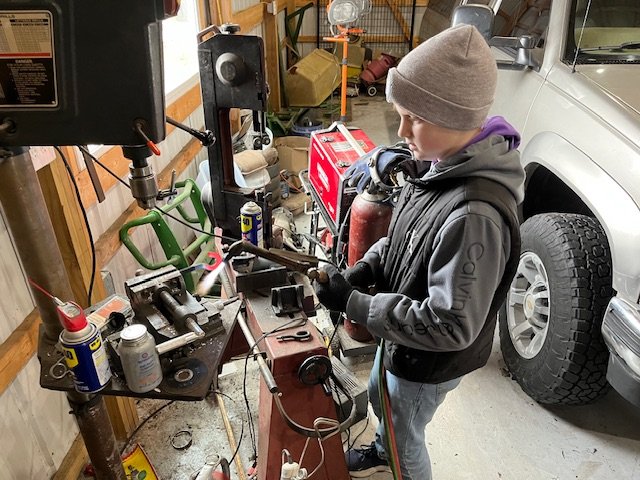
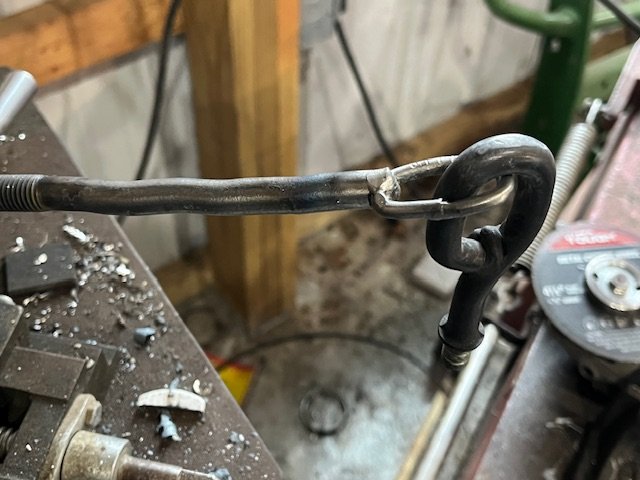
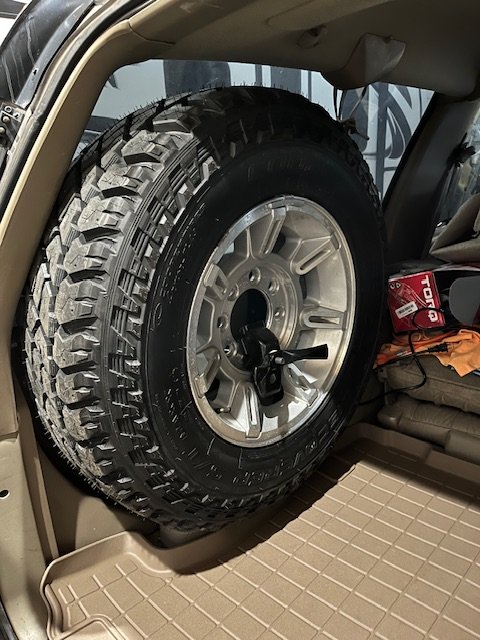
Busy day knocking out ankle biter projects. Switching to 33 x 10.50 tires needed a full size spare. Thru the magic of FB marketplace I was eventually able to score a rim and new tire. After mounting and balancing the total investment was about $150. Didn’t figure that was bad as the tire was 300 new from a dealer. Only problem was it didn’t fit in the original spot. The hardware was nowhere close to working. So Mason and I took it all out, and took the torch to it. Got it all straightened out and welded a chain link to it. Now it had the length and angle to install. This was his first time running the torch and he did a pretty good job.

IMG_3785.jpegIMG_3794.jpegIMG_3795.jpeg
 
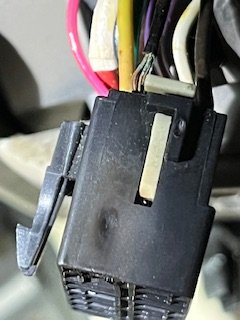
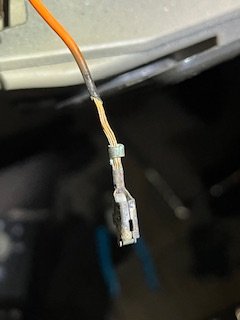
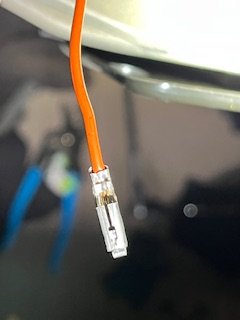
Next up was some electrical gremlins. The dash lights were not working correctly. The switch is a known problem and just an easy swap out. However, on ours when it went, it burnt part of the connector. So a quick repair was in order and now it’s back to all the dash lights working properly.

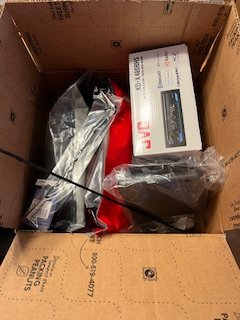
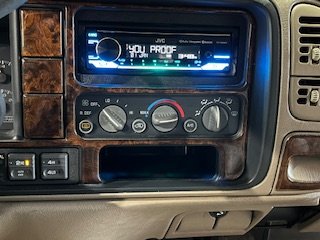
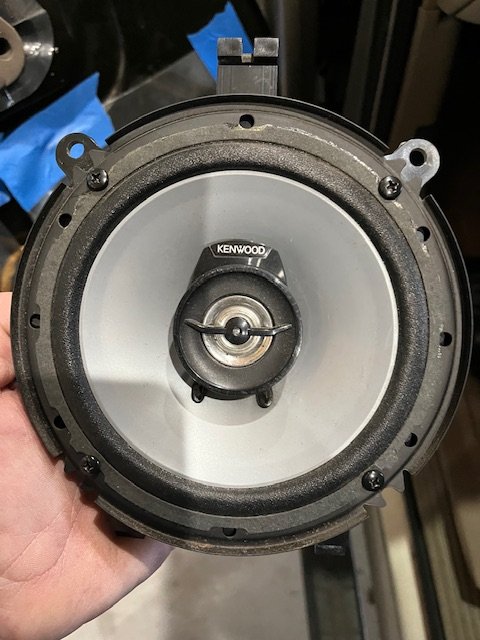
While it was apart we swapped out the radio to a new one. I wanted to put in a touch display for the navigation but it just wasn’t going to fit well. It got a new JVC with Bluetooth. On one of our trips to the junk yard we found a Burban with upgraded Kenwood Speakers. We snatched them up and are getting them installed as well. I had to order a new bracket as the old plastic broke a tab off the mount. That will be here next week. Not bad for a $40 investment and that included a bunch of miscellaneous small parts in our basket.

IMG_3787.jpegIMG_3788.jpegIMG_3789.jpegIMG_3791.jpegIMG_3782.jpegIMG_3790.jpeg
IMG_3786.jpeg
 
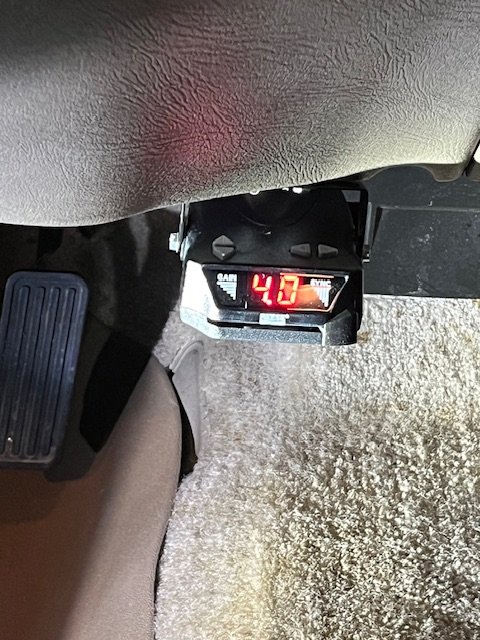
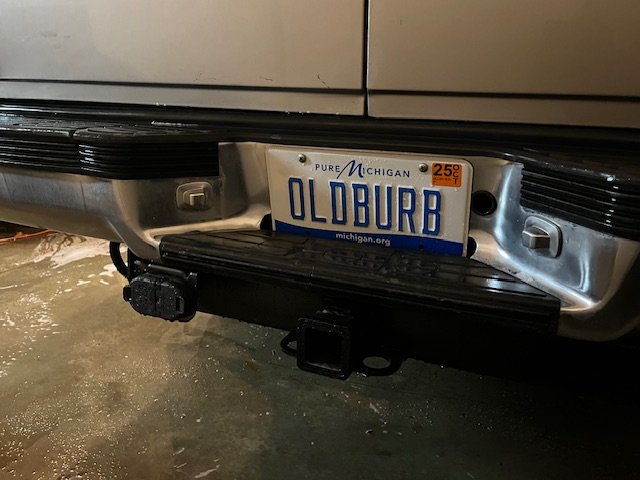
Getting close to hitting the road. Got the trailer and electric brake control wiring all done. She is all set to pull whatever we want to throw at it. Had to get a years worth of dust off from it so we can see what overspray still needs to be removed. Tomorrow we will take the claybar to it and get it all taken off.

Monday it will make its first voyage to the mechanics. It has to have the crank relearn done, AC charged, and an alignment done.

Then March we get to tune it and get it on the Dyno. Will be curious to see what we are putting down to the wheels.

IMG_3816.jpegIMG_3818.jpegIMG_3815.jpeg
 
I was just about to ask if you had it going yet. Hopefully things go smoothly on Monday!

I’m hoping we don’t have to tow strap it there. It runs at an idle now and I can move it some. The shop is only 3-4 miles down the road. But it is definitely not happy driving until the crank is learned. It dies almost every time I put it in gear. It’s a delicate game to get it moving. Once moving its goes, we drove it around the yard last week.

The 1 stop sign and highway intersection stop light in route there is what I’m worried about.
Stop signs are merely a suggestion. ;)
 
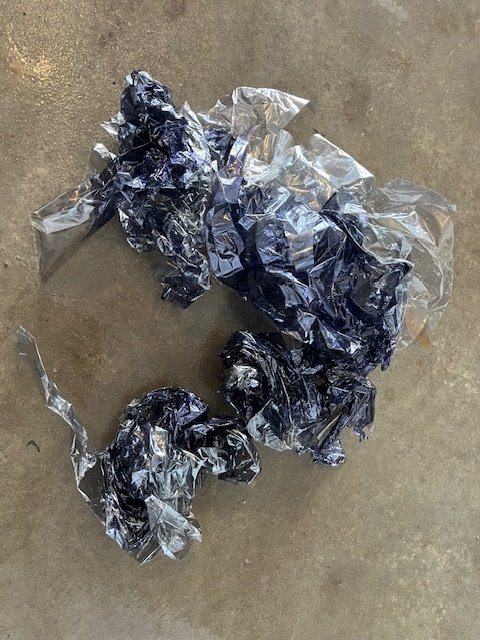
Spent most of the day getting the last little details done. Had to remove all the old window tint. The NM sun had turned it purple and it was in rough shape. 2 hours with a heat gun got most all of it. I had to go around it with Goof off to get the last little bit of adhesive off. Once that was done I had to polish all the glass. There was a white calcium type film on the outside of it. Same thing as I posted before just not near as bad. Windows cleaned up well and most of it is gone. I may take some CLR to it after I do some research to see if it’s safe.

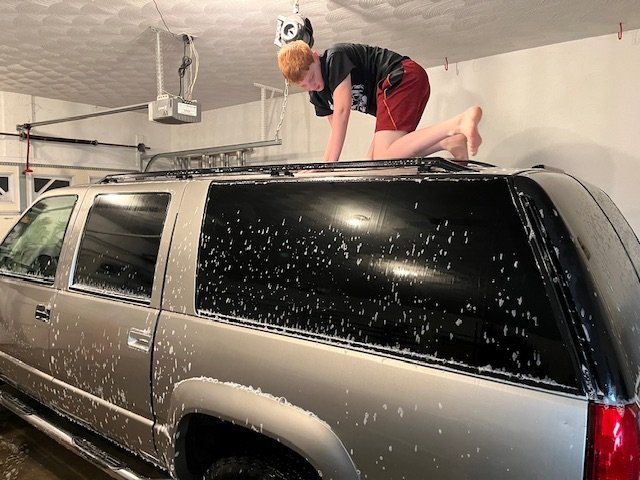
Did all the claybar and that took all the blue paint overspray off. Scrubbing every square inch of a suburban will flat wear your arms out.

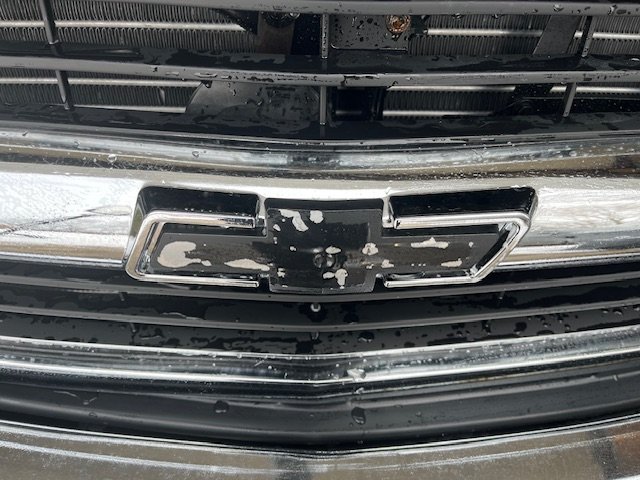
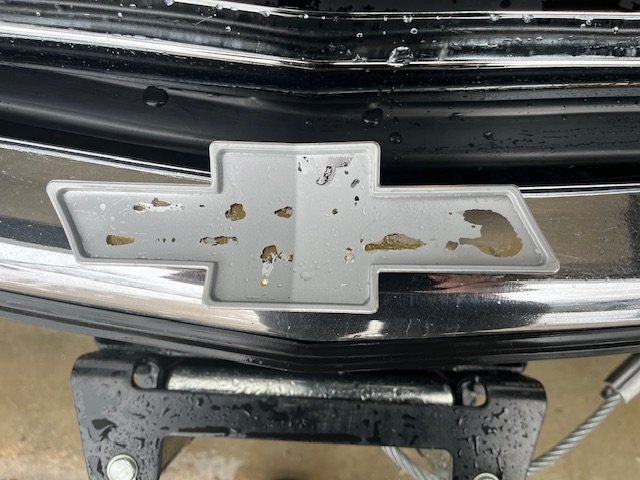
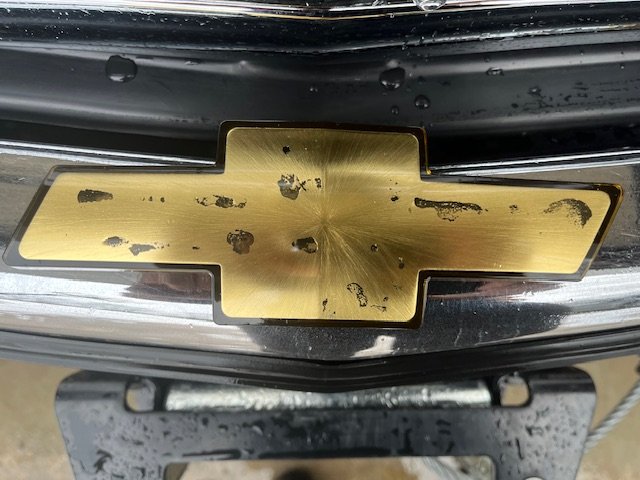
Did the final wash and the dam 75 dollar LMC Truck emblem fell apart. Pretty frustrating that it was never even driven before it failed. I will be calling them on Monday.

But she is done and ready for the shop to do their part. She cleaned up pretty well from when it first got here.

IMG_3825.jpegIMG_3819.jpegIMG_3820.jpegIMG_3821.jpegIMG_3823.jpeg
 
Stance looks right Addicting.

I added a leveling kit to it, the new keys raised the front a couple inches. I didn’t crank them down as the 33” tires didn’t need the clearance. Because it sat level, I was able to leave out the rear 1” lift blocks. It just didn’t seem to need them.
 
Back
Top