A couple years ago I purchased a Tikka T3x chambered in .308WIN and topped it with a Leupold VX-3HD 4.5-14x40 CDS with the B&C reticle.
I did some ammo testing with some factory loads, and came upon a load that the rifle really liked. I hunted with the rifle a couple years and took a few deer and pronghorn with it.
Functionally, the gun exceeds all expectations and it shoots well past my capability.
Aesthetically, I was never bought it. The flat black stock didn't do anything for me. I looked into various aftermarket stocks, but never found one I liked, for the price I wanted to pay at this time.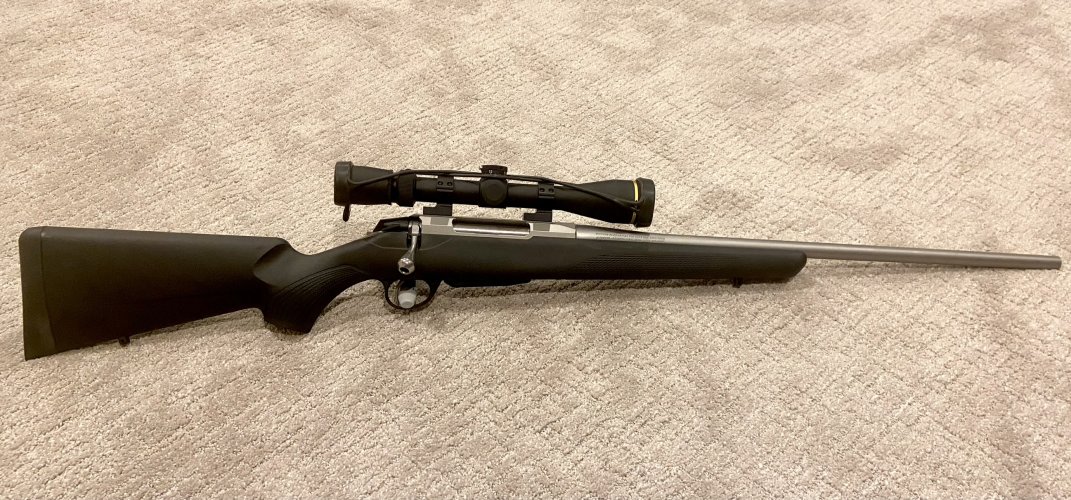
I have upgraded the rifle overtime with some small alterations. I put on a Limbsaver Airtech recoil pad. I swapped bolt handles form the stock round one to a Mountain Tactical Outdoorsman Bolt Knob. I added the Tikka Vertical Grip. And I had the barrel cut to 18.5" and threaded on a Banish 30 suppressor.
About a month ago, a couple plans changed last minute and I found myself with a completely free Saturday. It was incredibly windy, and it was the wrong direction for some of my better windy day grouse spots. I had just picked up a SRS Arca + PIC rail for my rifle and figured I'd be a good day to get that put on. I figured since I was going to be removing the action from the stock, I might as well paint my stock while I'm at it.
Now, there was some hardware that came with the SRS rail, but being a real man I threw it aside because I already had a plan on how I was going to anchor it.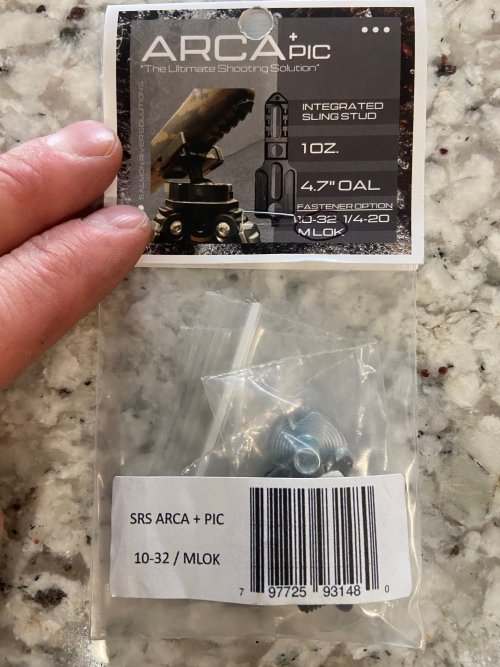
So, I made my list and headed over to Menard's. I grabbed a couple rattle cans, some 2 part epoxy, and some hardware and was almost all set. I made a final stop at the gas station and grabbed a 6 pack of tall boys. This was shaping up to be a good Saturday.
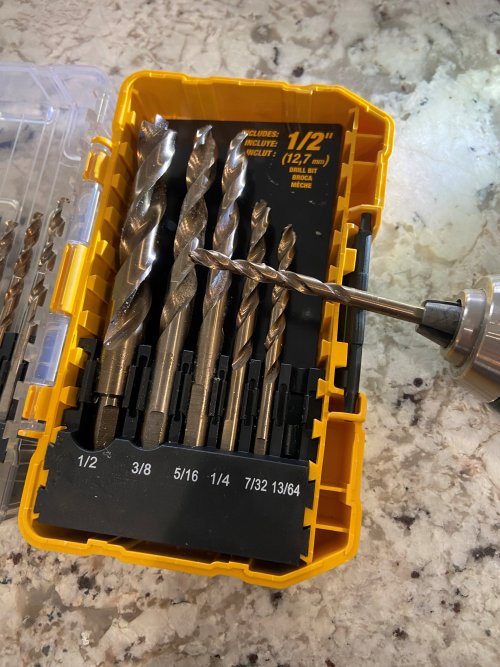
First step after removing the action was to get the hole drilled for the rail. I got it mocked up and started drilling. I started with a couple smaller bits to make sure the hole was as straight and plumb as possible, and finally ended with a 13/64 hole for the screw.
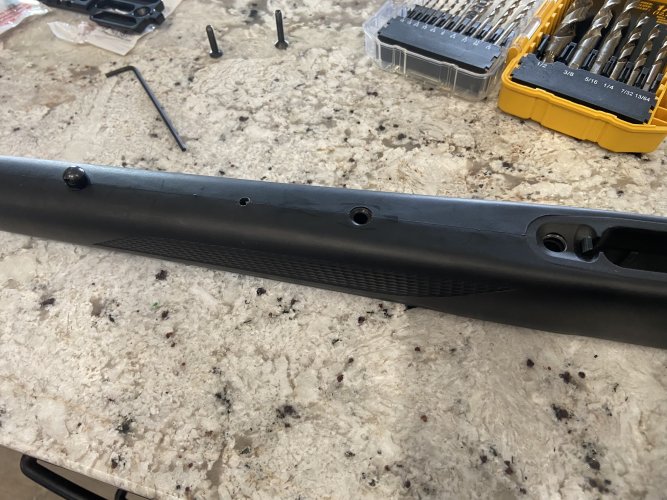
My plan for attaching the rail was using the provided screw that comes in the Tikka stocks at the rear, and then have a coupling nut, set in 2 part epoxy in the interior of the stock to accept the front screw via the hole I just drilled. (See pic below for hardware specs if you care)
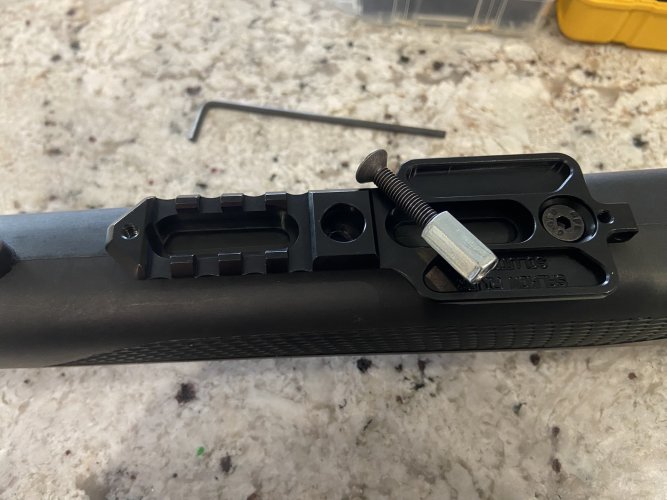
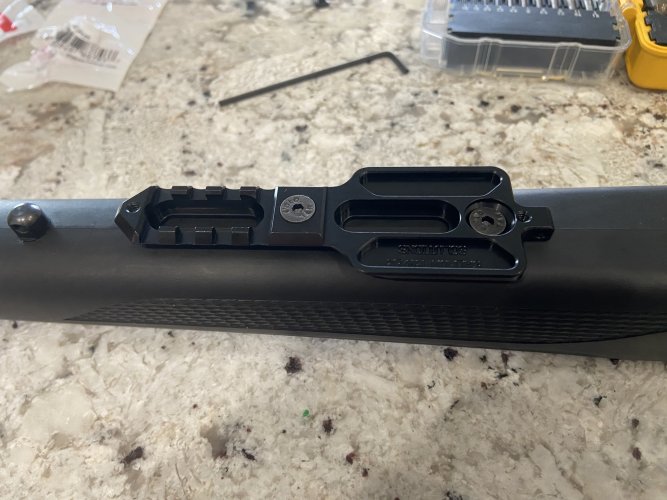
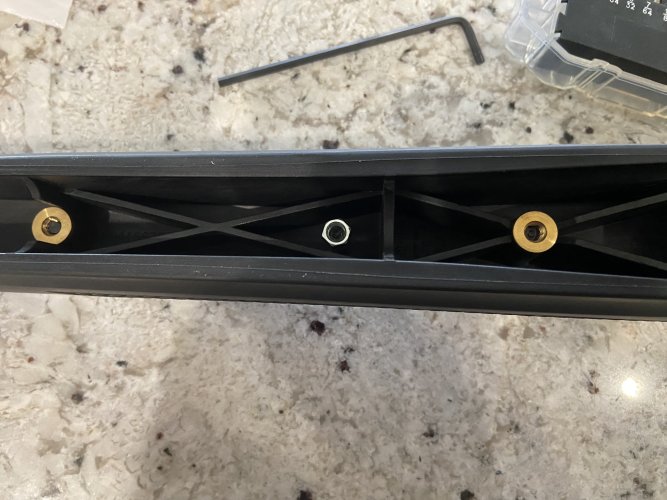
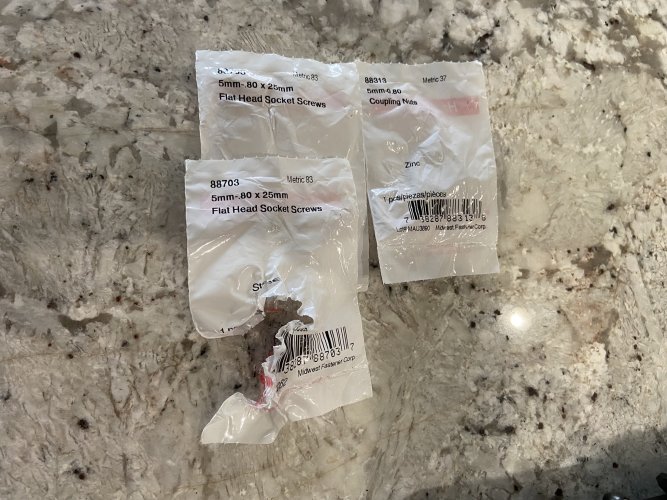
Lets pour some epoxy.
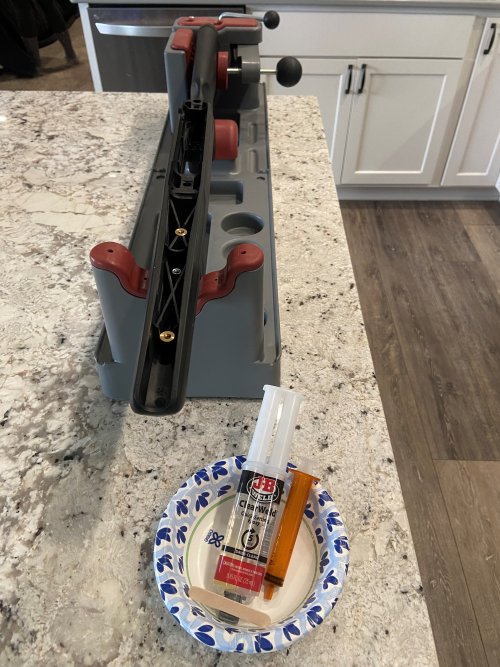
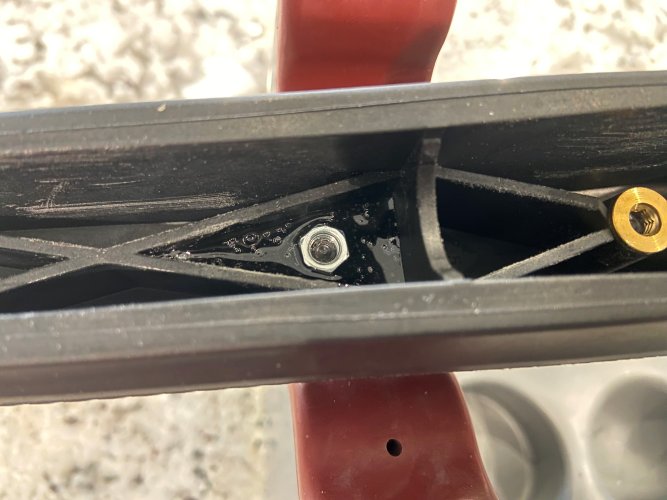
Got the epoxy in and somehow managed to keep the threading on the coupling nut free of epoxy. Let that set up for a couple hours and watched some college football and had a couple beers. After a while I figured it was safe to handle, and I stripped everything from the stock and started taping.
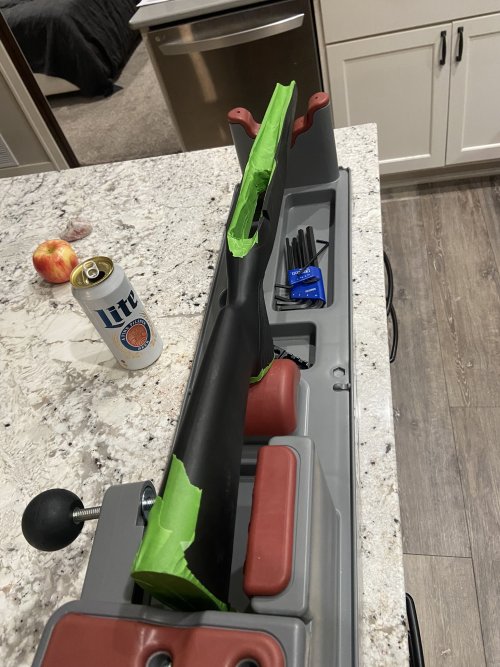
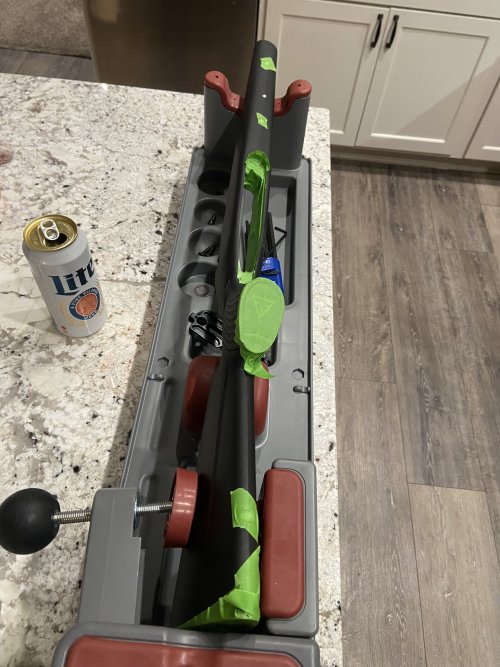
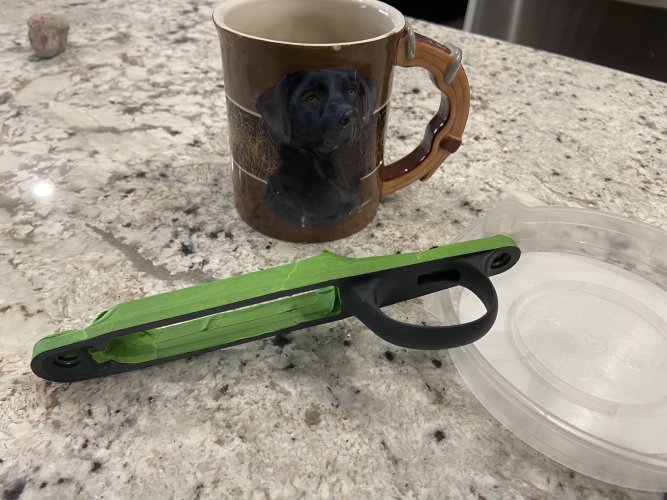
And cutting tape.
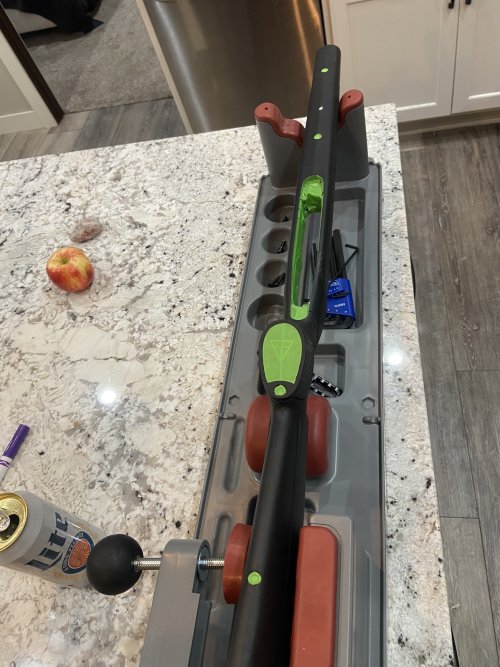
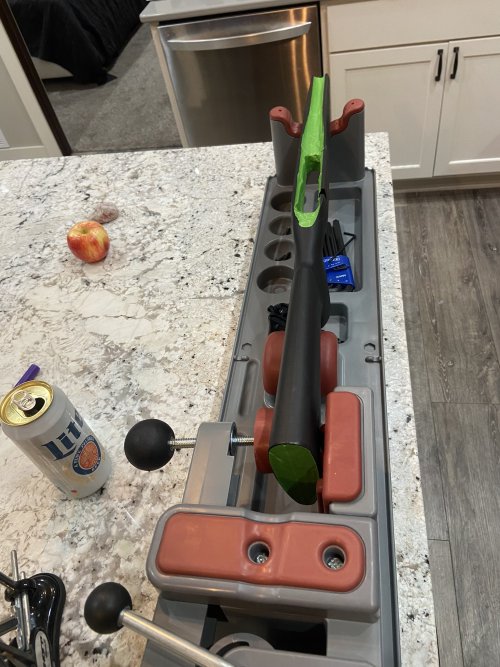
Then I carefully cleaned the stock, and took it out to the paint booth (my wife's garage stall) and got some primer on it.
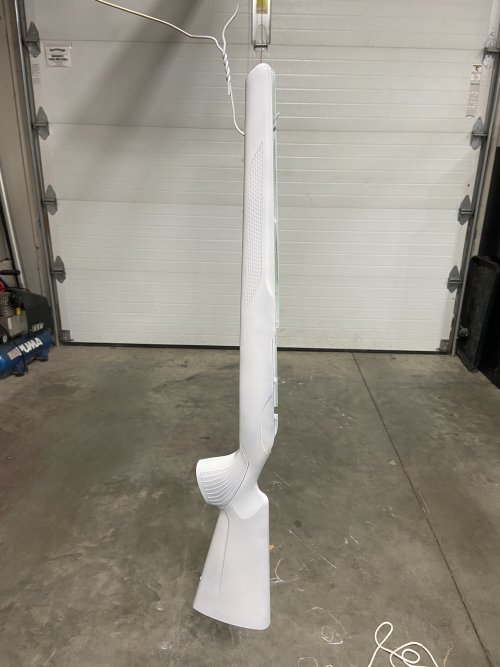
I opened the garage door just a touch and a nice light breeze helped it all dry nicely. I had a beer while it dried.
When it was ready, I hit it with some flat gray Krylon. Story of the afternoon was: Football. Beer. Coat of paint. Repeat.
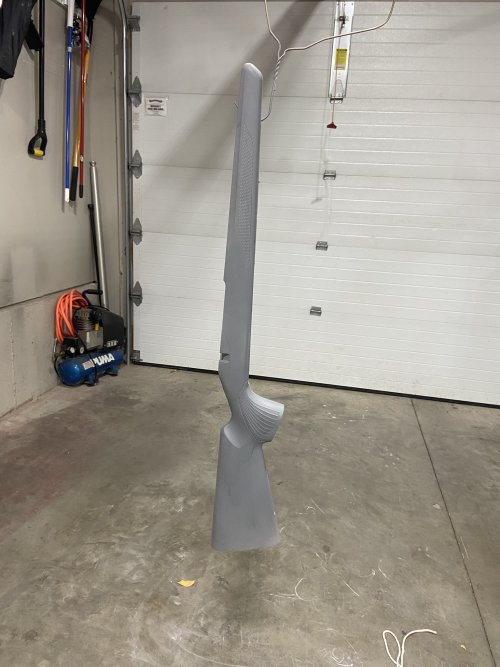
Later in the evening when all the coats of paint were dry and all the football had been watched, I used a stiff bristled paintbrush and some matte black paint I had laying around and added some splatter. After that I called it a night.
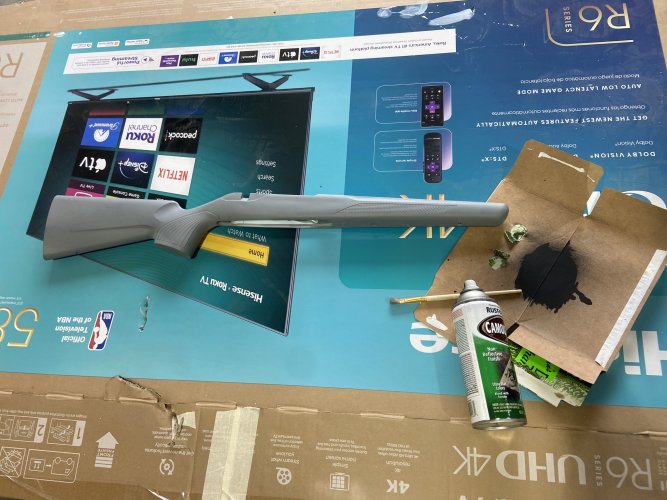
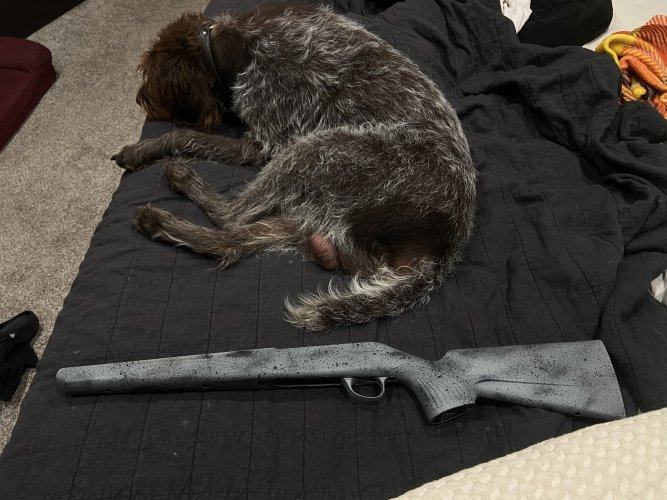
(sorry about my dogs n*tts in the pic)
The next day, I woke up early and started applying coats of clear coat. I think it got 6 coats in all.
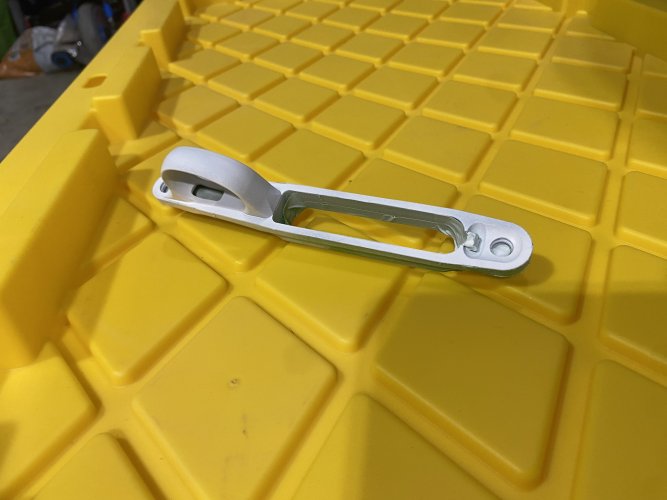
Monday after work, I removed the tape, reassembled the stock, dropped the barreled action back in place, and added the new plate. I used a small amount of blue Loctite on the screws for the rail, just to be safe. Everything came together as expected.
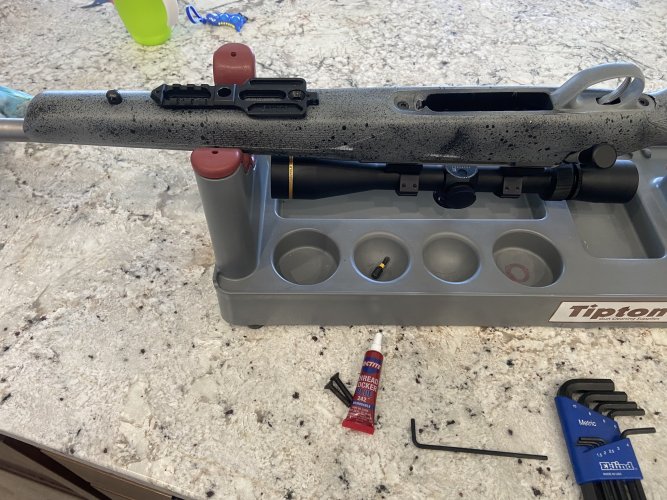
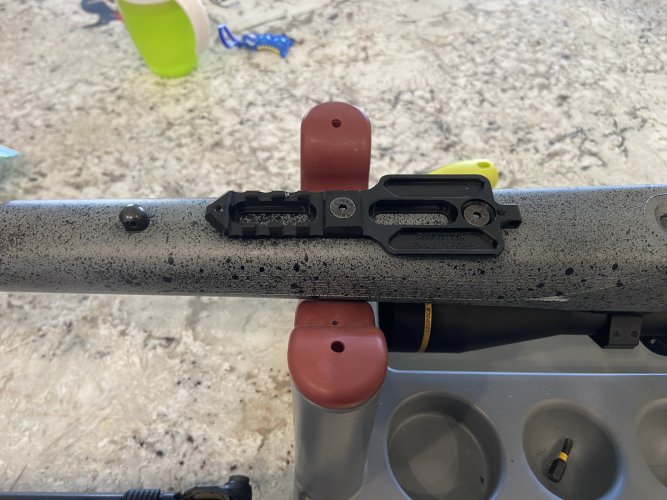
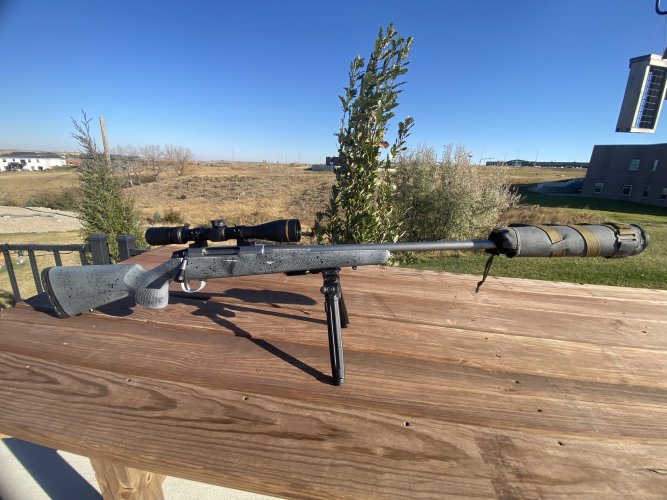
I threw on the bipod and everything check out. I wasn't too worried about losing and functionality with the bipod with moving it back a few inches, and that ended up being the case. Still operates well.
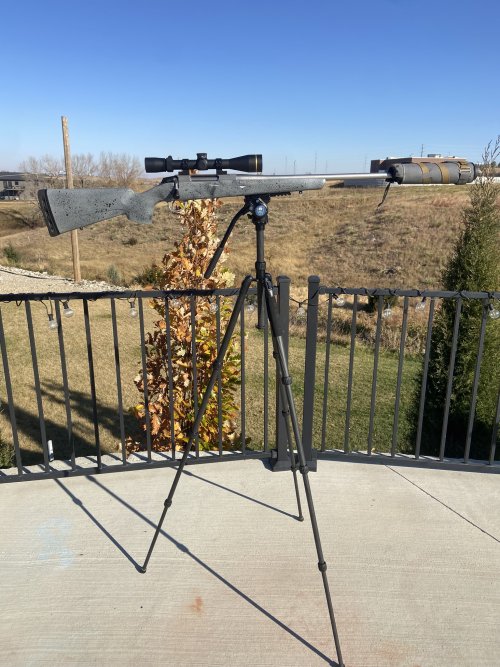
Then I clipped it to the tripod and gave that a test run. The adaptor does take a little bit of persuasion to get it to fully engage into the tipod head, but once in, it's rock solid. I will have to take some time and do some trouble shooting to see why exactly it doesn't engage smoother, but for now it works.
Overall, I'm happy with the way everything turned out. Attaching the rail was a super easy process, and if you're thinking about adding one, I wouldn't be afraid.
Thanks for checkin' it out.
I did some ammo testing with some factory loads, and came upon a load that the rifle really liked. I hunted with the rifle a couple years and took a few deer and pronghorn with it.
Functionally, the gun exceeds all expectations and it shoots well past my capability.
Aesthetically, I was never bought it. The flat black stock didn't do anything for me. I looked into various aftermarket stocks, but never found one I liked, for the price I wanted to pay at this time.

I have upgraded the rifle overtime with some small alterations. I put on a Limbsaver Airtech recoil pad. I swapped bolt handles form the stock round one to a Mountain Tactical Outdoorsman Bolt Knob. I added the Tikka Vertical Grip. And I had the barrel cut to 18.5" and threaded on a Banish 30 suppressor.
About a month ago, a couple plans changed last minute and I found myself with a completely free Saturday. It was incredibly windy, and it was the wrong direction for some of my better windy day grouse spots. I had just picked up a SRS Arca + PIC rail for my rifle and figured I'd be a good day to get that put on. I figured since I was going to be removing the action from the stock, I might as well paint my stock while I'm at it.
Now, there was some hardware that came with the SRS rail, but being a real man I threw it aside because I already had a plan on how I was going to anchor it.

So, I made my list and headed over to Menard's. I grabbed a couple rattle cans, some 2 part epoxy, and some hardware and was almost all set. I made a final stop at the gas station and grabbed a 6 pack of tall boys. This was shaping up to be a good Saturday.
First step after removing the action was to get the hole drilled for the rail. I got it mocked up and started drilling. I started with a couple smaller bits to make sure the hole was as straight and plumb as possible, and finally ended with a 13/64 hole for the screw.


My plan for attaching the rail was using the provided screw that comes in the Tikka stocks at the rear, and then have a coupling nut, set in 2 part epoxy in the interior of the stock to accept the front screw via the hole I just drilled. (See pic below for hardware specs if you care)


Lets pour some epoxy.


Got the epoxy in and somehow managed to keep the threading on the coupling nut free of epoxy. Let that set up for a couple hours and watched some college football and had a couple beers. After a while I figured it was safe to handle, and I stripped everything from the stock and started taping.


And cutting tape.


Then I carefully cleaned the stock, and took it out to the paint booth (my wife's garage stall) and got some primer on it.


I opened the garage door just a touch and a nice light breeze helped it all dry nicely. I had a beer while it dried.
When it was ready, I hit it with some flat gray Krylon. Story of the afternoon was: Football. Beer. Coat of paint. Repeat.

Later in the evening when all the coats of paint were dry and all the football had been watched, I used a stiff bristled paintbrush and some matte black paint I had laying around and added some splatter. After that I called it a night.


(sorry about my dogs n*tts in the pic)
The next day, I woke up early and started applying coats of clear coat. I think it got 6 coats in all.
Monday after work, I removed the tape, reassembled the stock, dropped the barreled action back in place, and added the new plate. I used a small amount of blue Loctite on the screws for the rail, just to be safe. Everything came together as expected.


I threw on the bipod and everything check out. I wasn't too worried about losing and functionality with the bipod with moving it back a few inches, and that ended up being the case. Still operates well.

Then I clipped it to the tripod and gave that a test run. The adaptor does take a little bit of persuasion to get it to fully engage into the tipod head, but once in, it's rock solid. I will have to take some time and do some trouble shooting to see why exactly it doesn't engage smoother, but for now it works.

Overall, I'm happy with the way everything turned out. Attaching the rail was a super easy process, and if you're thinking about adding one, I wouldn't be afraid.
Thanks for checkin' it out.
Last edited:


