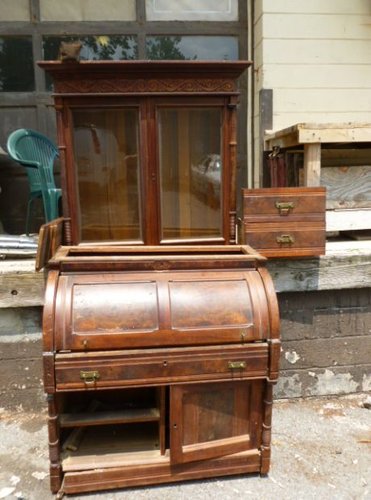
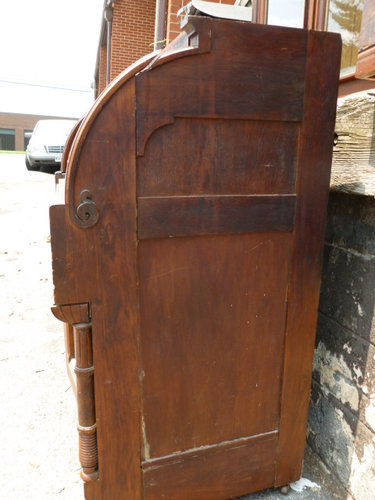
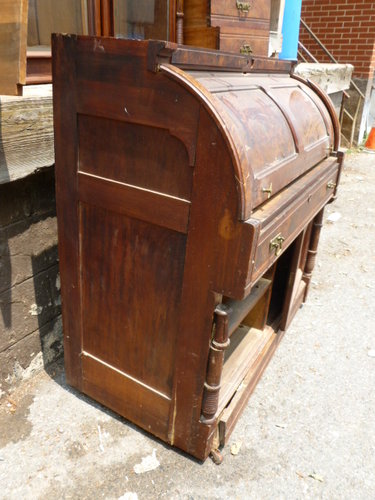
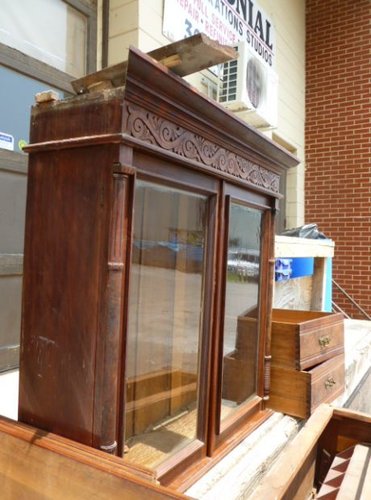
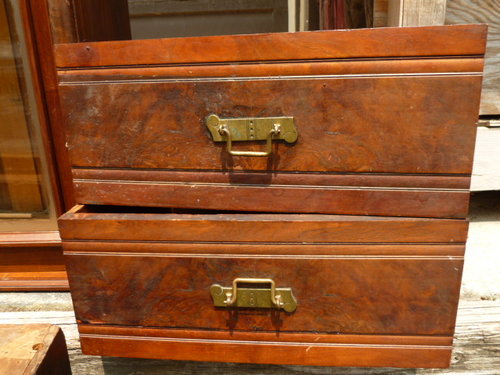
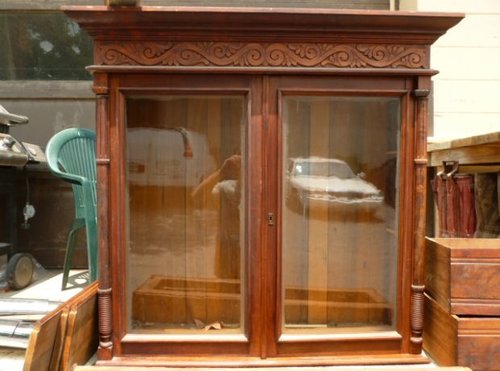
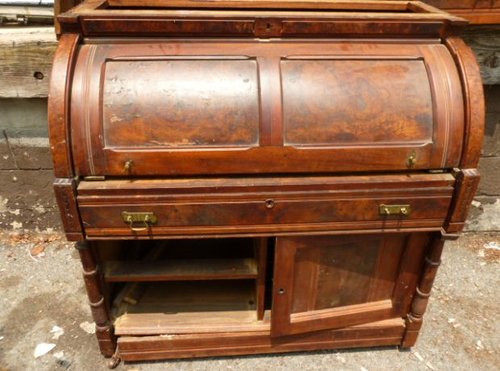
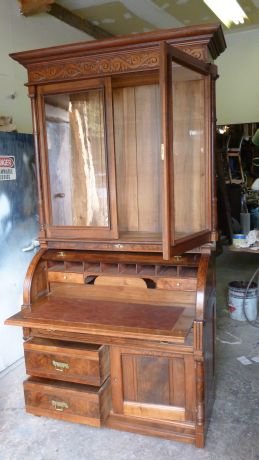
New project , Walnut desk 1870's

DaveHawk

New member
Joined
Jul 3, 2004
Messages
1,162
Location
Outside the Beltway
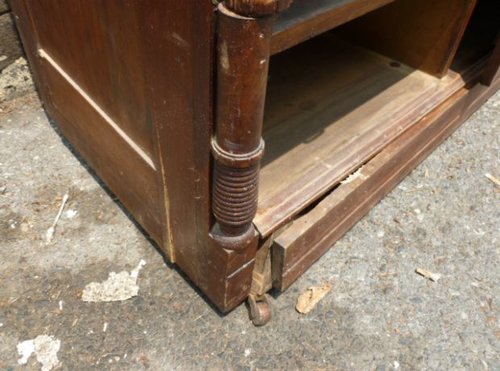
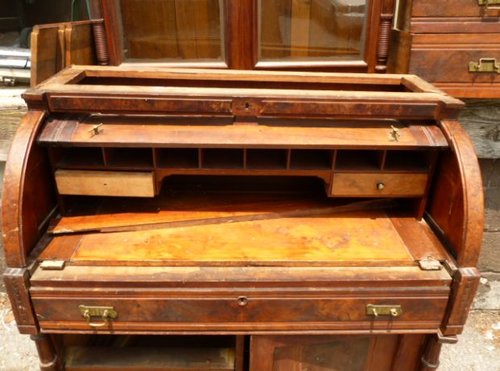
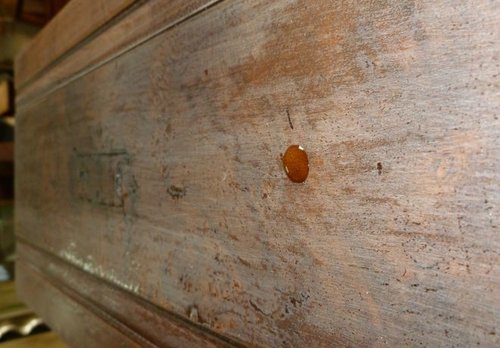
This came from a regular customer who likes my style of finishing a lot. This THING took me 2 days to dismantle and removed all the licqid nail which some ............ used to hold the thing together. If you look close you can see hits of the liquid nail in the joins. And it not just one or 2 joints it every joint. Which needs to be removed.
 

Attachments

  • P1010349.JPG
    P1010349.JPG
    68.6 KB · Views: 246
  • P1010357.JPG
    P1010357.JPG
    144 KB · Views: 245
  • P1010355.JPG
    P1010355.JPG
    84.2 KB · Views: 238
  • P1010354.JPG
    P1010354.JPG
    138 KB · Views: 246
  • P1010353.JPG
    P1010353.JPG
    70.7 KB · Views: 254
  • P1010352.JPG
    P1010352.JPG
    150 KB · Views: 244
  • P1010351.JPG
    P1010351.JPG
    76.3 KB · Views: 243
  • P1010350.JPG
    P1010350.JPG
    86.7 KB · Views: 243
  • P1010356.JPG
    P1010356.JPG
    84 KB · Views: 247
Last edited:
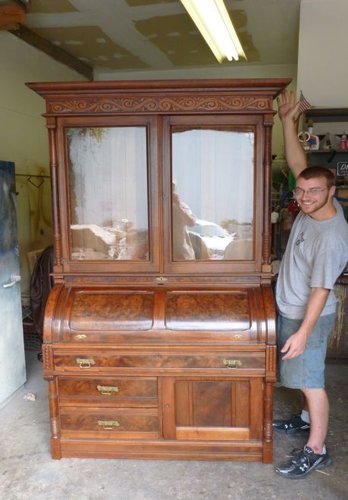
work is completed and delivered. This desk was hand rubbed with 100% tung oil aprox. 7 coats. All repairs done and new trim made where it was missing.
 

Attachments

  • P1010505.JPG
    P1010505.JPG
    83 KB · Views: 147
  • P1010506.JPG
    P1010506.JPG
    79.2 KB · Views: 150
  • P1010513.JPG
    P1010513.JPG
    66.2 KB · Views: 150
  • P1010514.JPG
    P1010514.JPG
    41.2 KB · Views: 147
Thanks
my son Jarrod showing off his handy work. He is one of the best repair guys I know. I'm not saying that because he is my son. He takes things that I will trash and you can never tell it was busted or ready for the junk heep. I love old solid furniture and ikea I have never seen anything from that store I like LOL

A friend asked; From Larry:" hey Dave, you gave us a short hint of what you done to make this piece shine but could you take some time and give us the technique from start to finish.." So I thought some of you may find this helpful for future projects.
I have to admit I did cheat a bit. I needed to get the oil to the point of build (sealed surface) so I sprayed it with lacquer sealer 1 coat instead of 3 coats of shellac. Lacquer sealer makes a great base for just about any finish I know of. It is receptive to oils, acrylic's, shellacs, kerosene finishes , wax finishes, faux finishes various gilding and acid over lay finishes, varnishes, epoxy's, the list goes on.

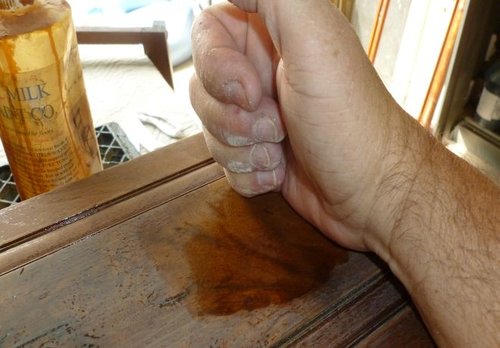
Anyway after the sealer coat was sanded I took 100 % tung oil and mixed 10% damar varnish and 10% BLO and then started dropping on drops and rubbing the drops out 10" - 12"'s X 10"-12"'s a drop for 5 coats sanding between each coat lightly. Finial costs were 100% tung oil. after each coat the amount it took to cover the area 10x 12 took less and expanded to the point where 1 drop would do a 16" X 9" drawer, 3 drops would do the lower side. The less drops the hotter the oil became because of the vigorous rubbing.
Before the finial finish was applied I used 600 grit wet sand paper and a little spit and water to sand the surface. Spit is a great lubricate for wet sanding. I then began waxing; 3 coats minimum, 1st coat was rubbed out with Liberon 0000 steal wool, you do not use hardly any wax just enough to fill and areas that have slight indentations , like grain that did not fill. Then polish and repeat 2 more times except with a fine cotton cloth to apply and another clean cloth to take off. If this is done correctly the finish will shimmer in the light. It will not be a high gloss but it will give you a great reflection.
__________________
 
Last edited:

Forum statistics

Threads
113,397
Messages
2,019,735
Members
36,155
Latest member
walleyeandy
Back
Top