Black rifle build

MO Betta

Well-known member
Joined
Jul 23, 2019
Messages
1,322
Location
West of the Mississippi
Haven't seen a build thread here, figured I'd post one for those who might be curious of building their own black rifles. As time allows, I'll post progress pictures and explanations - depending on when I get a few tools back from a friend. Some of these steps are personal choices, especially the first couple I will post. I'm not a gunsmith, and I don't play one on TV - just someone who likes to tinker.


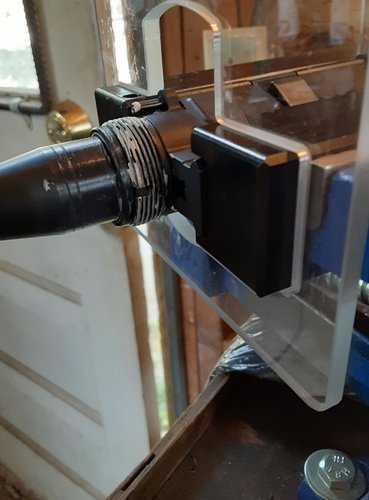
Dimpling barrels: Insurance on keeping set screw style gas blocks in place. Some manufacturers will send barrels pre-dimpled. This is just machining shallow holes into the barrel for the set screws to bite into.

Barrel clamped into nylon soft jaw barrel vise:
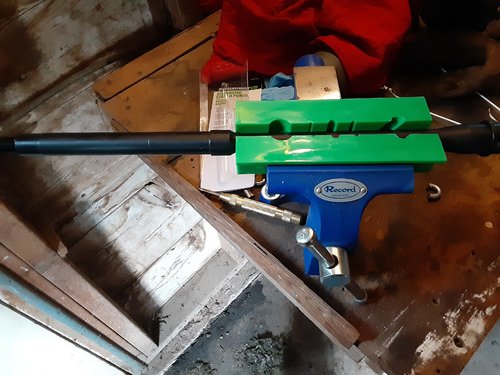
dimplepre.jpg

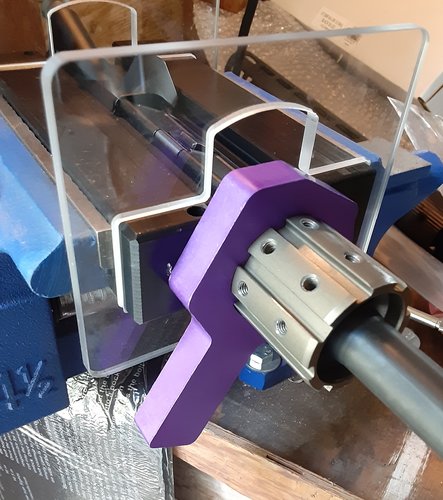
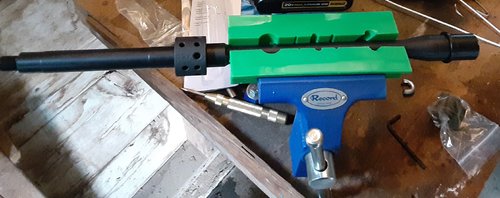
Barrel fitted with a KAK dimple jig. This jig is used to line up your dimples opposite the gas port, it is machined for certain gas block journal diameters (this one is .750) and has 5 different patterns for set screw spacing as many gas block manufacturers have different patterns. For these builds I am using Aero low profile gas blocks that have a set screw spacing of .5 inch. On one side, the jig has a pointed screw that tightens down into the gas port to align and properly space the jig, you then rotate the barrel 180° and drill.
dimplejig.jpg

The kit comes with a bit specifically made to fit this jig, so there is no slop once inserted and a hand drill can be used. The cuts in the bit help bring the material up and out. Take your time and use cutting fluid, frequently stopping to check your work. Below is a finished barrel.
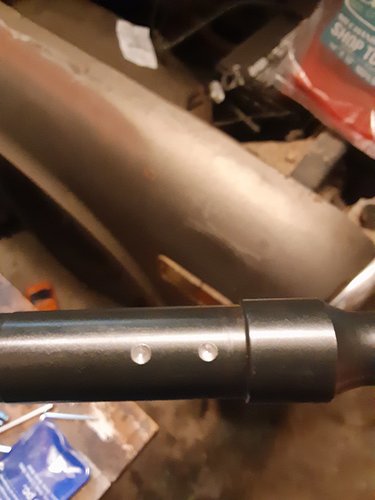
dimplecomplete.jpg
 
Last edited:
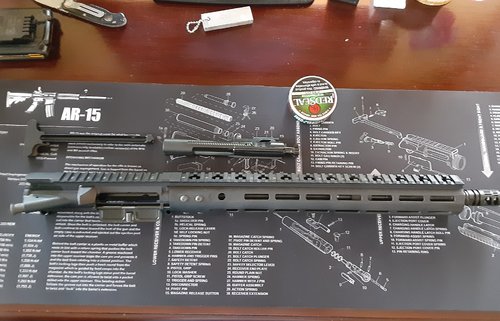
Lapping an upper receiver: This is done to get the mating surface squared on the upper receiver for the barrel extension to mate to. This is another completely optional step, and some argue for and against doing this. It is important to go slow and frequently check your work, being careful not to get the lapping compound inside the receiver. This is to take out high spots, you're done once about 80%+ of the anodizing is down to bare metal. I use a Brownells lapping tool for this, it has a long pilot that travels down the receiver and a machined surface to square the face of the receiver. If you want this done but don't feel confident doing it yourself, then send it to a smith and they can machine it for you.

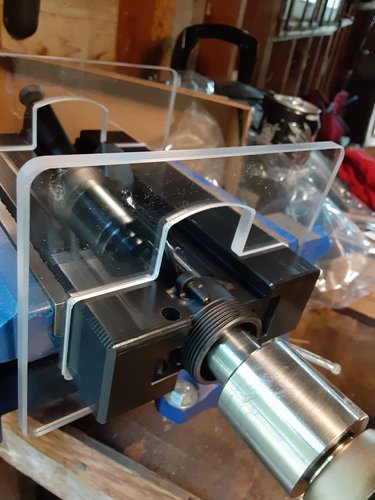
Receiver ready to lap. This receiver is set into a No-Mar upper receiver vise clamp, held lightly in the vise jaws so you don't deform the upper. 600 grit lapping compound is applied to the face of the tool, and is rotated against the receiver surface - stopping to wipe away compound and check progress after every minute or so. If you chuck it in a drill do not run it at a high rate of speed.

receiverpre.jpg

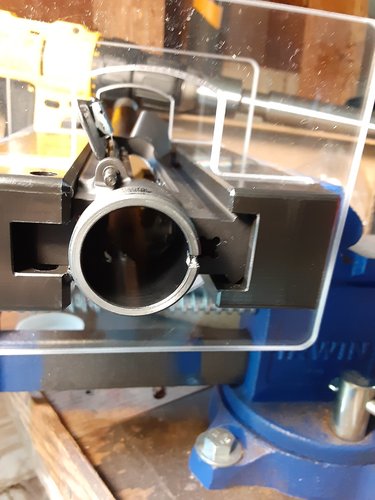
Stopping to check progress. Wipe all compound from the mating surface and the tool, especially if you are going to take the tool completely out of the upper - you don't want compound inside the receiver. The white deposits you see in the upper are a little lithium grease to reduce friction inside, the pilot has a tight fit.

receiverlap.jpg

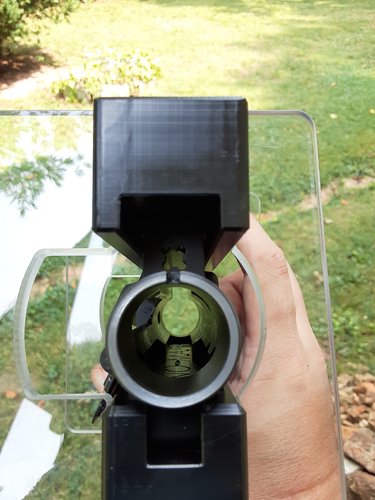
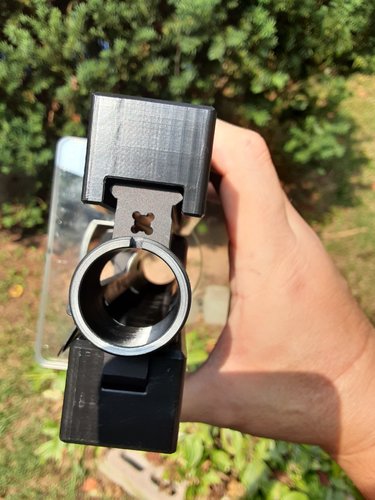
Stepping outside to check the surface in good light:

receivercheck.jpg

Lapping Complete:

receivercomplete.jpg
 
Last edited:
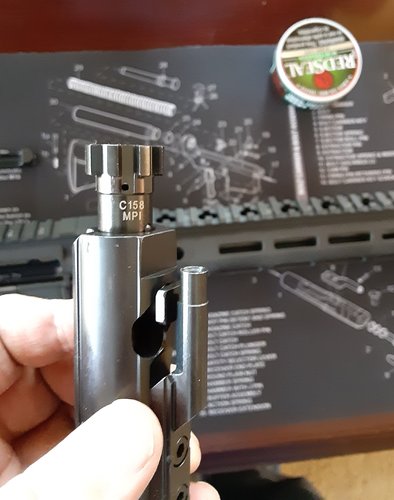
Next up will be installing the barrel nut, gas block & tube, muzzle device, and handguard. Hoping to do that this weekend. The lower may be a little while as I wait for my tools to be returned. If you have any questions feel free to ask.
 
Barrel nut: Any hanguard you purchase will come with a barrel nut to mate your barrel to your receiver, and then attach the handguard to. The wrench you need will depend on the nut provided, some nuts can be handled with an armorer's wrench like one from magpul, I've had some that require a large crow's foot (Odin), these ALG handguards have their own wrench that was around 5 bucks. The only thing I wasn't pleased with on these is that there isn't a 3/8" or 1/2" drive cut into them, any torque applied requires a 12" length of 1" steel pipe for a cheater bar. Didn't have any on hand, so you'll see how I got around that. This nut doesn't have a ft/lb torque spec like other nuts, for those I use a torque wrench in combination with the barrel nut wrench.

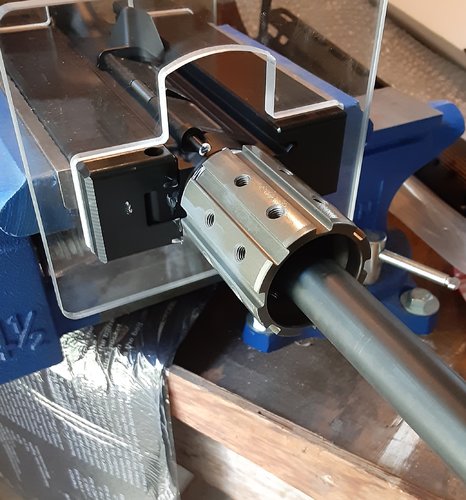
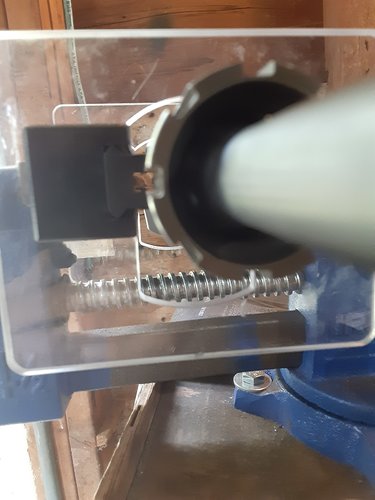
Chucked the upper back into the No-Mar block and applied some anti-seize (used white lithium grease) to the threads after inserting the barrel into the upper. Had to wipe some off, got a little excessive. The index pin on the barrel extension slides into the cutout you see in the threads of the upper receiver. Some people use a reaction rod like those from Geissele that is inserted through the upper and into the chamber of the barrel. The standard ones can shear the index pin off your barrel if you aren't careful because the upper can rotate as the nut is tightened. Since the torque is being applied to the upper receiver I prefer to have the upper clamped in place instead, and don't have to worry about damage to the index pin.

lubednut.jpg

With this nut you start off putting the black shim on the barrel, then carefully screw on the nut by hand to make sure you don't cross thread. Tighten & loosen the nut using the ALG wrench without the cheater bar 3 times.
nuttest.jpg

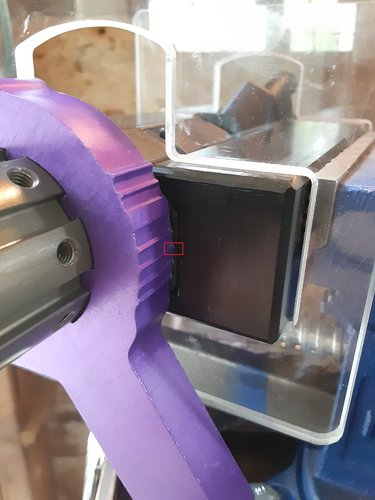
Tighten the nut with a good amount of pressure using the wrench without the cheater bar. Note which mark lines up best with the center of the picatinny rail (marked with red box).
shimcheck.jpg
 
Last edited:
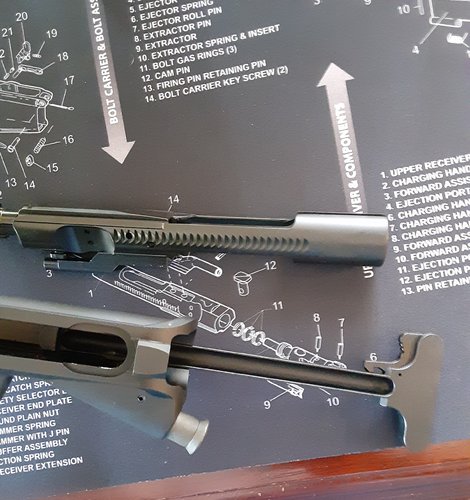
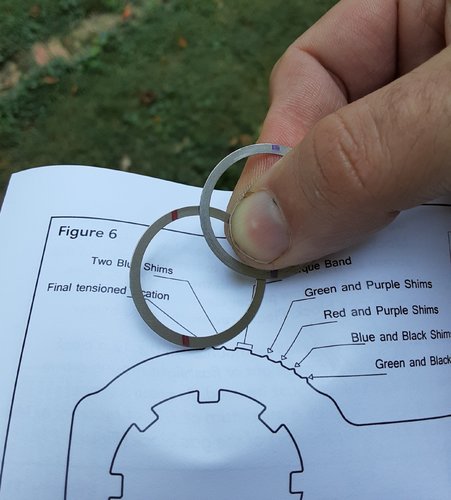
The indicator was the second past the large pre-torque band, so I had to remove the black shim and use a combination of the included red and purple shims.

shims.jpg

With the new shims in place, the barrel nut is threaded back on by hand and the wrench slid back on the nut.

tightnut.jpg

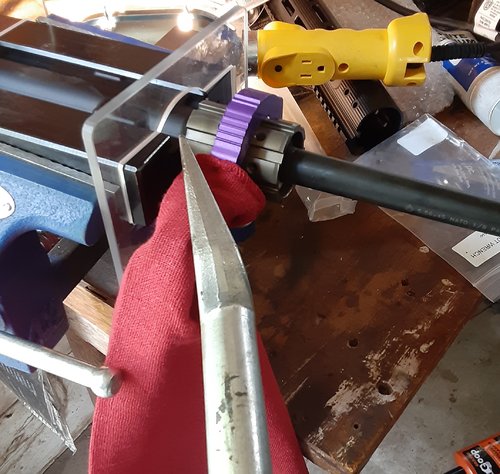
Since I didn't have a cheater bar that fit well enough, I used a pickle fork that I use to separate ball joints on my truck. Then the barrel nut is tightened until the wrench is at the "final torqued location" indicator.
pickle.jpg

Barrel nut torqued to final position. This allows the tube from your gas black to enter the upper receiver.

torqued.jpg
 
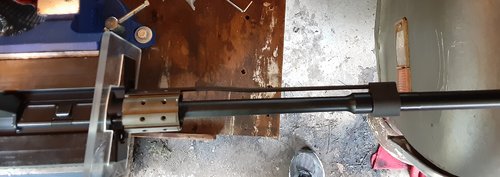
Gas block assembly and installation: On your barrel there is a gas port drilled into the chamber, a portion of the gases rushing towards the muzzle are redirected up through this port into your gas block. The block then sends it through the tube to the gas key on your bolt carrier group, unlocking the bolt and cycling the action.

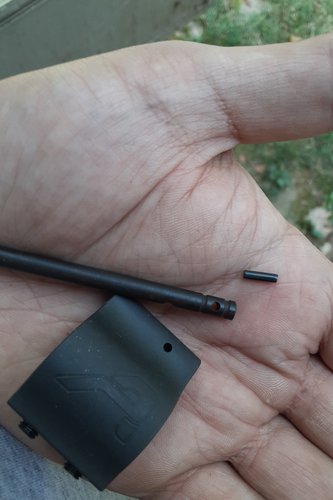
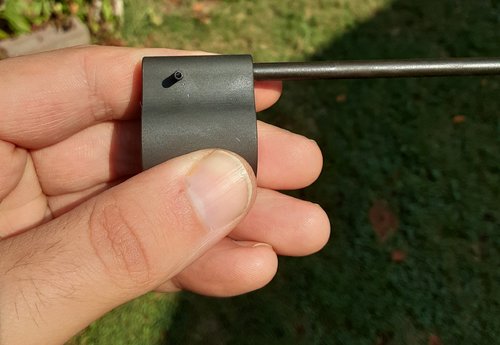
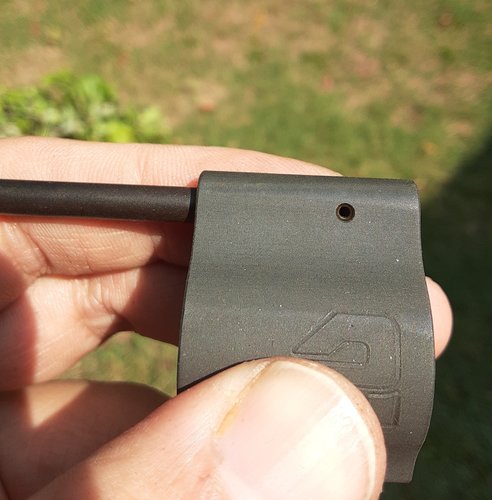
Gas block, gas tube and roll pin. The tube is inserted into the gas block until the hole in the tube shown in this picture lines up with the hole in the gas block. The roll pin is then inserted to mate the block and tube together. There is another hole in the tube on the underside, 90° from the hole for the roll pin. That must point towards the journal (opening the barrel slides into).

parts.jpg

I usually take a pair of needle nose pliers to start the pin into the hole, it is small and hard to grip. There are roll pin punches you can buy to install these, but I just use pliers and a regular punch. Below is the pin started in the block.

pinstarted.jpg

Roll pin punched in.

pininstalled.jpg
 
Last edited:
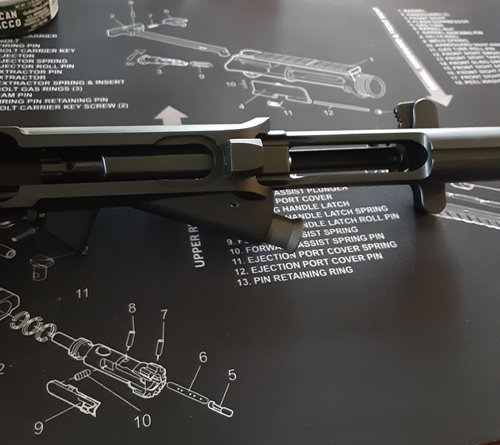
Here is where the dimples really come in handy, makes aligning the assembled gas block very easy. The tube goes through the opening in the upper receiver, that was shown in the last photo of installing the barrel nut.
blockdimples.jpg

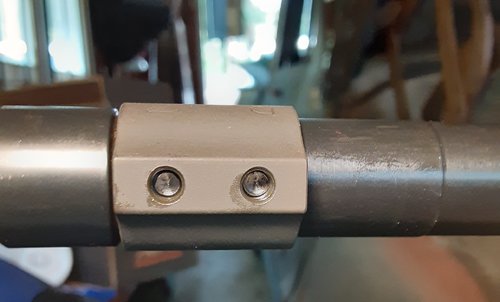
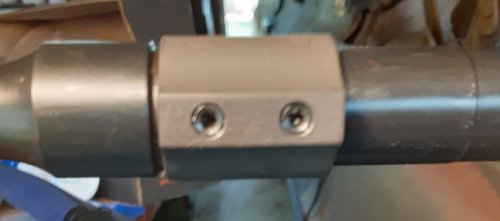
Set screws tightened down, with some threadlocker on the threads of the screws to keep them from backing out while shooting. Photo is pretty blurry.

blockscrews.jpg
 
Last edited:
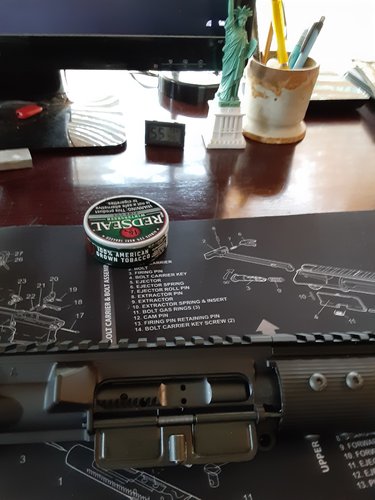
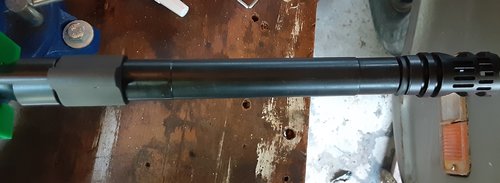
Muzzle device installation: The upper assembly is put back in the vise with the nylon barrel vise jaws clamped on the barrel. Any force applied while installing the device needs to be applied to the barrel, not the receiver.
readyfordevice.jpg

These VG6 Gamma devices come with a crush washer instead of shims. The logo on these go towards the underside of the barrel, the small ports on top are in line with the gas tube and rail on the upper receiver. Put the crush washer on with the beveled side pointed towards the gas block, flat side towards the muzzle. Thread on the muzzle device and tighten it down by hand, if the top ports aren't within a half turn of being in line with the rail, shims will need to be added. A 19mm wrench fit well on the flats at the base of the muzzle device to tighten it down until it lined up.

braketorqued.jpg
 
Last edited:
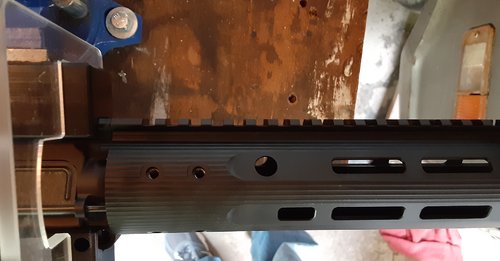
Installing the handguard: These handguards are free-floating, the only contact they make is with the barrel nut itself. With the nut shimmed and torqued properly in previous steps, the handguard lines up exactly when installed.

Upper chucked back into the No-Mar to free my hands up.
upready.jpg

Handguard is slid onto the barrel nut, the rail on the handguard lined up with the rail on the upper. Since it was shimmed and torqued properly, the attachment threads in the nut line up with the holes on the guard.

guardfit.jpg

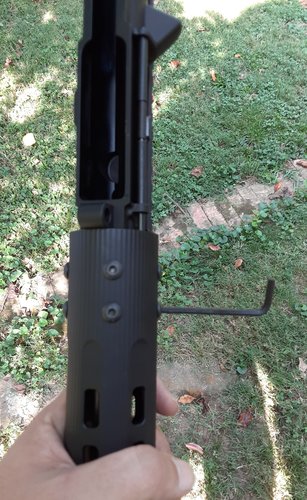
Screws attached. Threads for attaching handguards to barrel nuts tend to be pretty weak, and most have torque specs in the inch/lb range. This handguard didn't have torque specs for the screws, and the instructions have you tighten them down firmly using the short handle of the hex wrench as shown below.

guardscrews.jpg
 
Complete upper, and installing bolt carrier group & charging handle: Now that the nut, gas block, barrel and muzzle device are attached to the upper receiver, all that is left at this point is chucking in the charging handle and bolt carrier group.
upcomplete.jpg

When installing the BCG (bolt carrier group) the bolt must be extended, as shown below.
boltextend.jpg

The handle is placed in the upper receiver, recesses in the upper let it drop against the top when you have it inserted properly.

handleinstalled.jpg

The BCG with the bolt extended is then placed inside, with the gas key placed into the channel in the charging handle.

boltnhandle.jpg

This should slide freely in the upper, with a small push locking the bolt to the barrel.
closed.jpg

That's it on this build for assembling the upper. It was cheaper on this build to buy the upper with dust cover and forward assist installed, but if anyone would like to see how these are installed I can rip apart an upper and include it. Lower assembly should be soon.
 
You have just offended a bunch of guys on this board. They don't think we should own black guns. Post a pic of a target to see if shes a shooter.
 
Haha, if they don't want them they don't have to buy them. No functional difference to any other semi-auto except availability of larger standard mags. Once I get the lower done I'll take it to the range, Ballistic Advantage guarantees sub-MOA so if it is worse than that it is probably on me.

Mainly posted it because I've seen some interest in this section about buying/building one.
 
I’ve built a lower from a parts kit, but I bought a preassembled upper, and I used all mil-spec parts. I’d like to build one from match parts at some point. Good pictorial. Thank you
 
PEAX Trekking Poles

Latest posts

Forum statistics

Threads
113,556
Messages
2,024,981
Members
36,228
Latest member
PNWeekender
Back
Top