p_ham
Well-known member
Rifle bedding is a topic that comes up every now and then. I thought I'd share one method of how I do my jobs. I've been putting this off because taking progress pictures is kind of a pain for this.
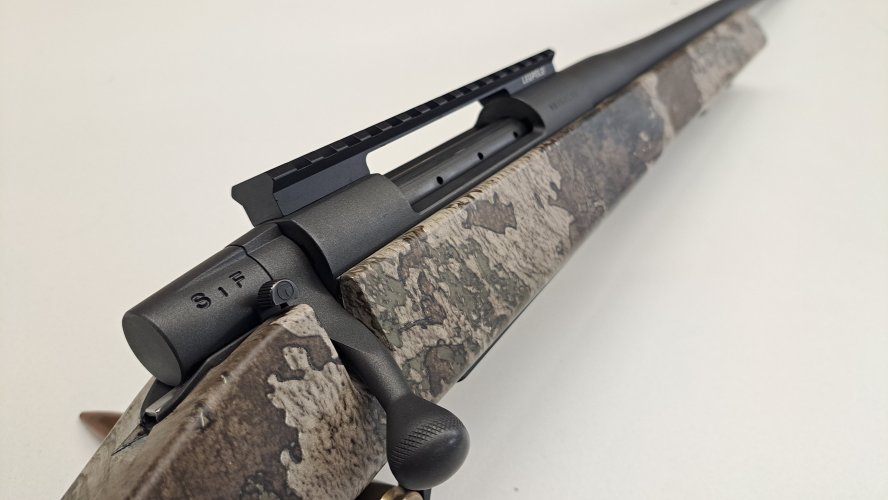
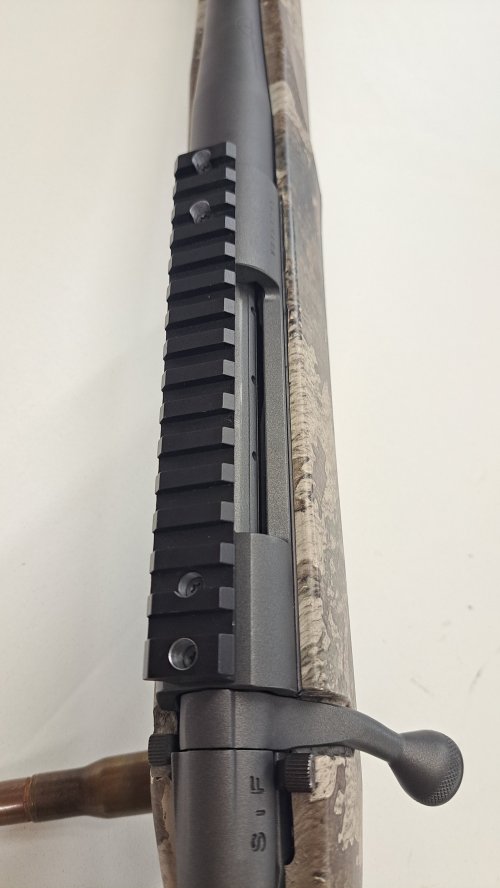
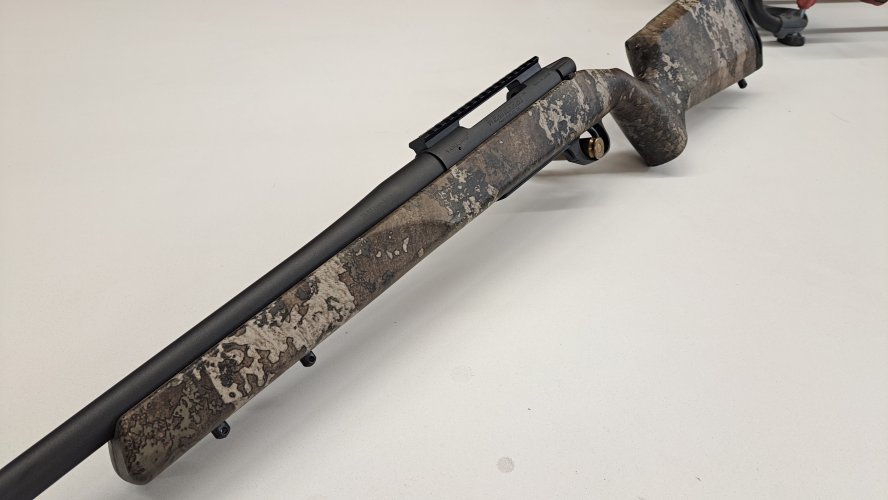
This example is on a Weatherby Vanguard.
I use Marine-Tex for my bedding compound.
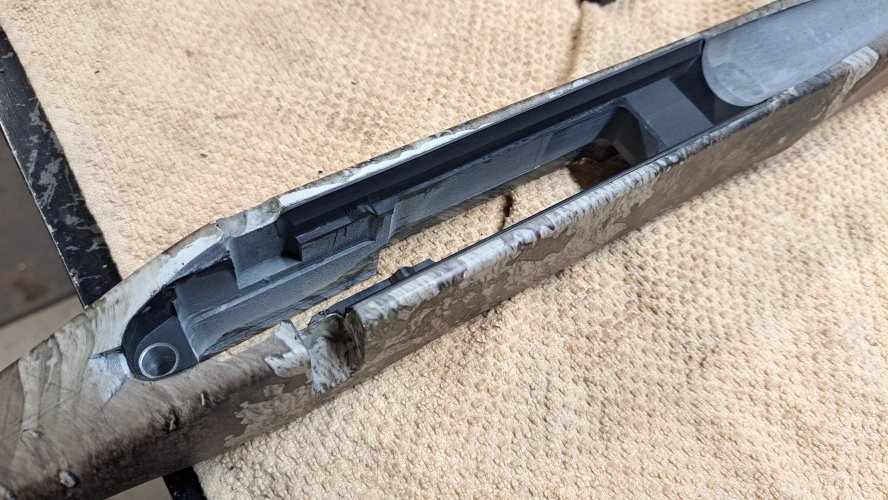
First step is to prep the action and stock. Make sure there is enough room for the action to slide into the stock and have a touch of wiggle. Sand it with no finer than 150 grit and it doesn't hurt to add divots with a Dremel tool for mechanical hold. Fill any opening where compound may get and lock the action in place. I use clear packing tape cover large areas and modeling clay for smaller openings. If you use packing tape make sure it's not anywhere you WANT to have contact.
For traditional tombstone style recoil lugs you'll want to add tape to the bottom, front, and sides of the recoil lug.
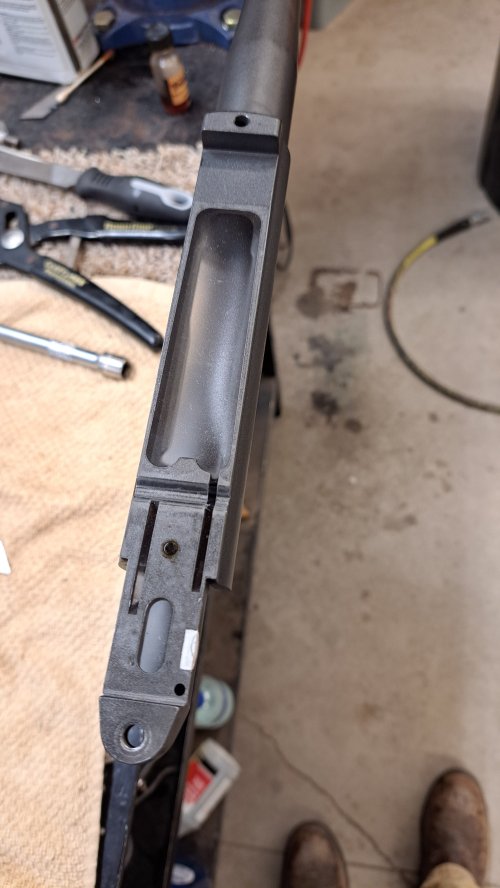
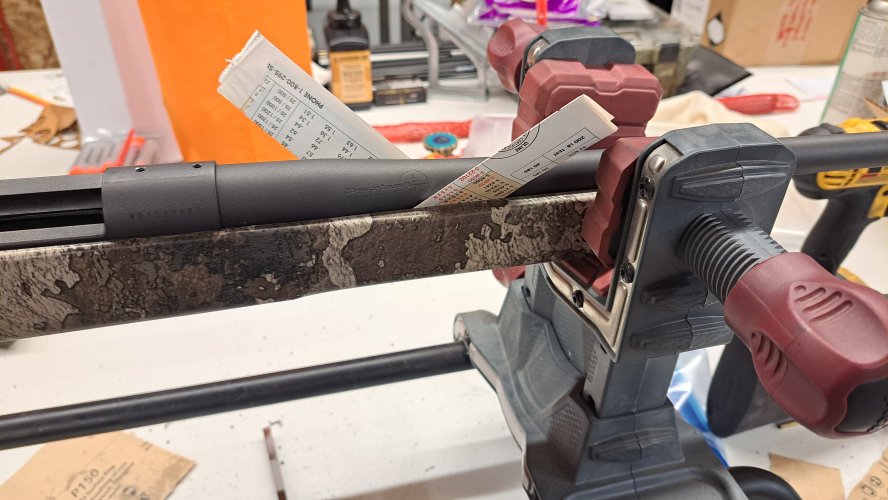
Put a ring of vinyl tape on the barrel towards the end of the barrel channel. It should fill the channel but not require force to seat. This is what centers your barrel in the channel. You'll want a small area of contact on the rear tang to set how deep the action sits in the stock.
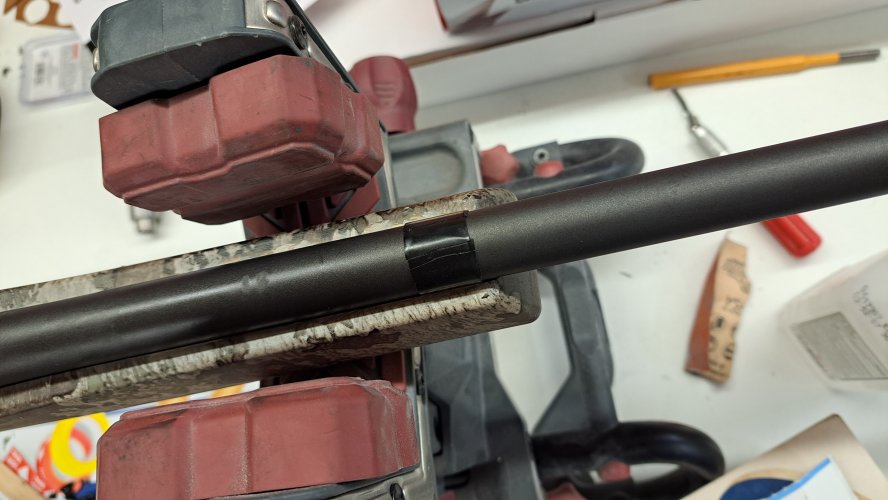
This stock is getting pillars installed. Wrap your action screws with tape so they slide into pillars easily. Drill your pillar holes in the stock oversized so they can set where they need to without causing stress.
Put your chosen release agent on everything you don't compound to stick to. I use Brownell's Acra Release aerosol. Don't forget your mounting hardware, the inside of the action, the entire barrel, and the inner bore of your pillars.
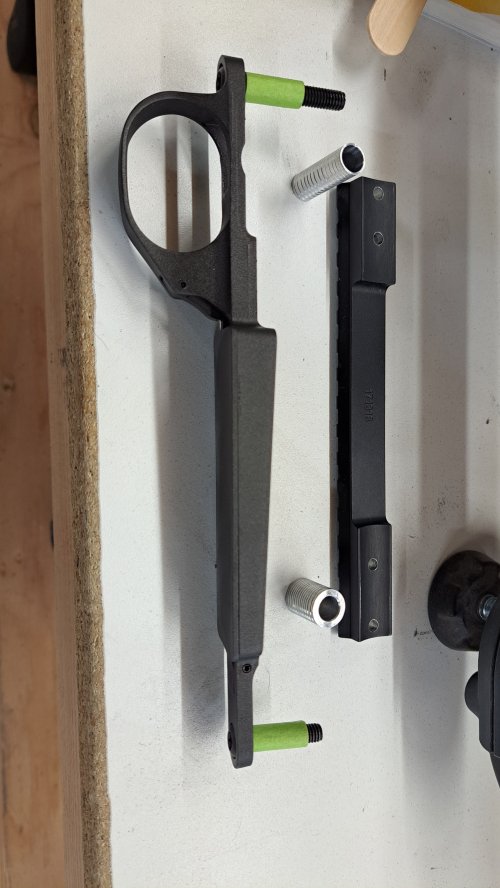
You can either get the pillars set in place first or screw them to the action and set everything in place that way. Which method you use depends on whether you're bedding the bottom metal or not.
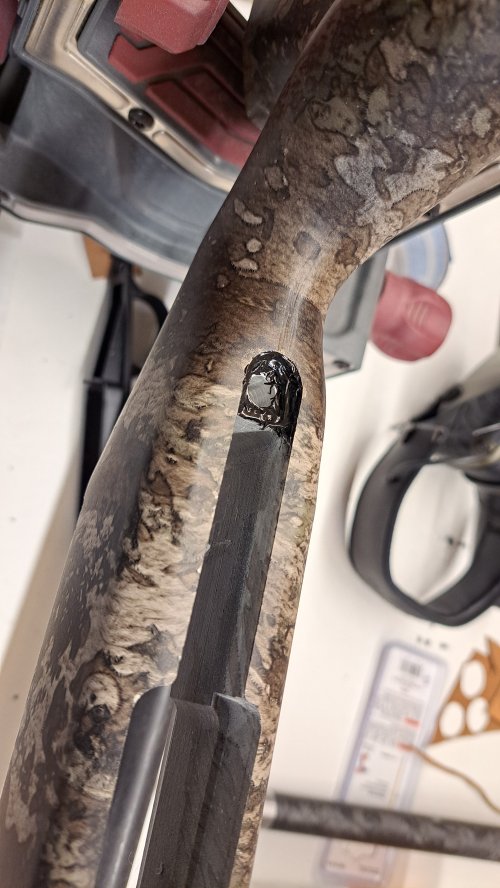
Mix your bedding compound with a stirring motion. Do not fold it as it can trap air. If you are using Acra glass and notice it seems chunky, hit it with a hair dryer or heat gun on the low setting. The catalyst likes to be above a certain temp to smooth out.
Apply bedding material to your inletting. Do so in a fashion as to not introduce a bunch of air bubbles. Spread it evenly and don't whip it up. Apply compound to your action as well. This helps reduce any voids in the finished product. You'll want to pay special attention to any inside corners such as the recoil lug area. On flat bottom actions you need to add additional compound where the upper receiver radius meets the square portion of the bottom section.
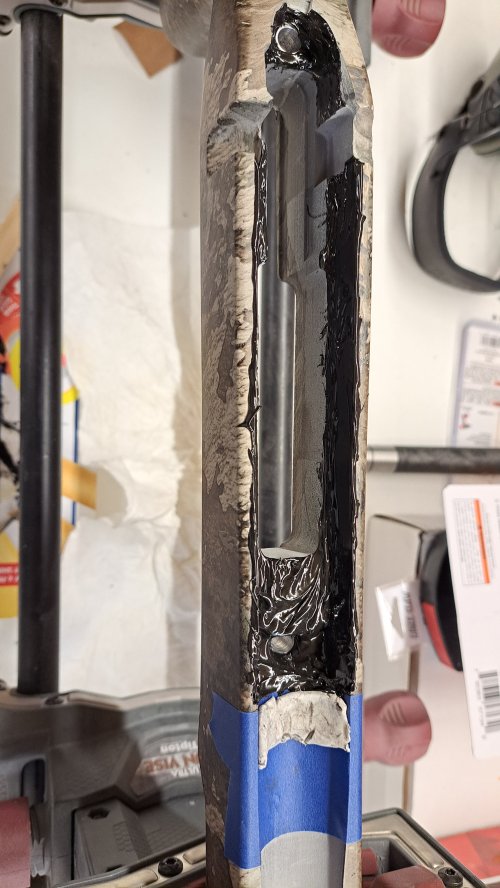
Place the action into the stock. If you're not bedding the bottom metal or adding pillars: make some studs the same thread as your action screws (cut the heads off some bolts. 1/4-28 is the most common). Use these to locate your action. Use either surgical tube or electric tape wrapped around the stock and action to hold it in place.
Adding pillars not bedding BM: screw pillars to bottom of receiver prior to applying bedding material. Secure with tape or surg. tube.
Bedding bottom metal: use your action screws to pull the action into place. You only want to use enough pressure to set the action where it needs to be but don't go past snug. Once it's in place back off your screws and leave them finger tight.
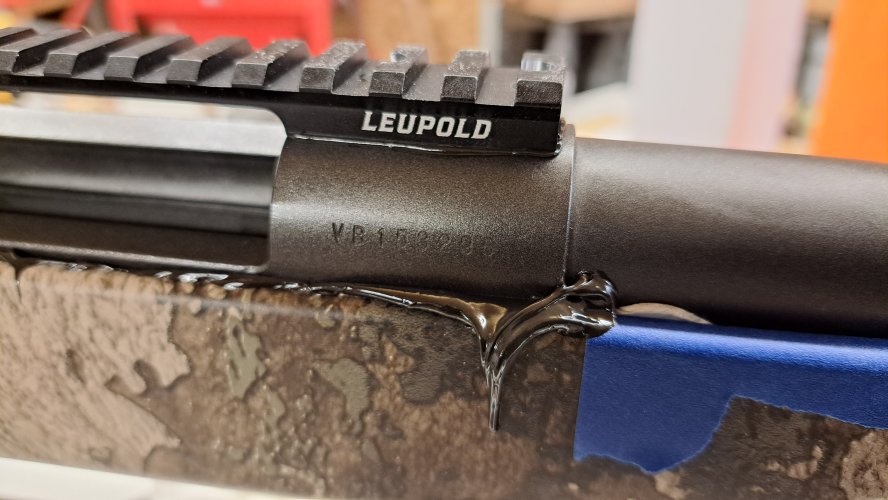
Marine-Tex will clean up with water. Acetone also works well if your stock finish can take it. I use wetted Q-tips to clean up all the squeeze out that I can get to. Reach up through the mag well if you can and clean up the bottom side as well.
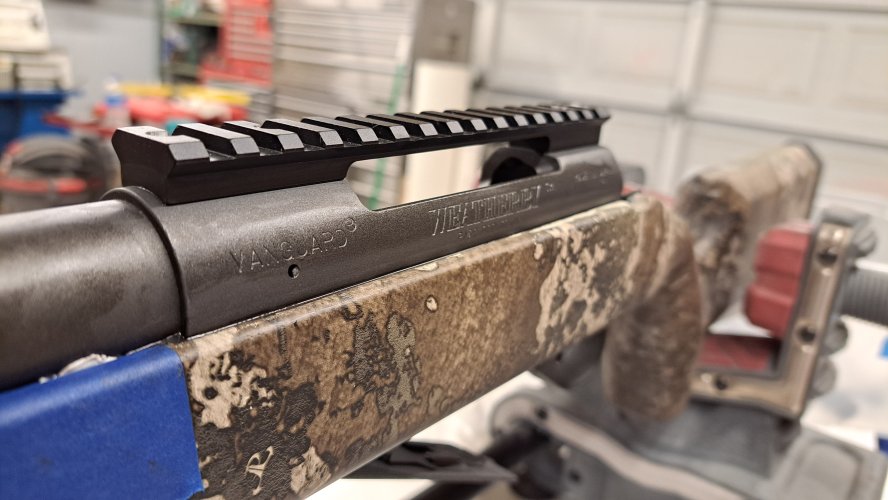
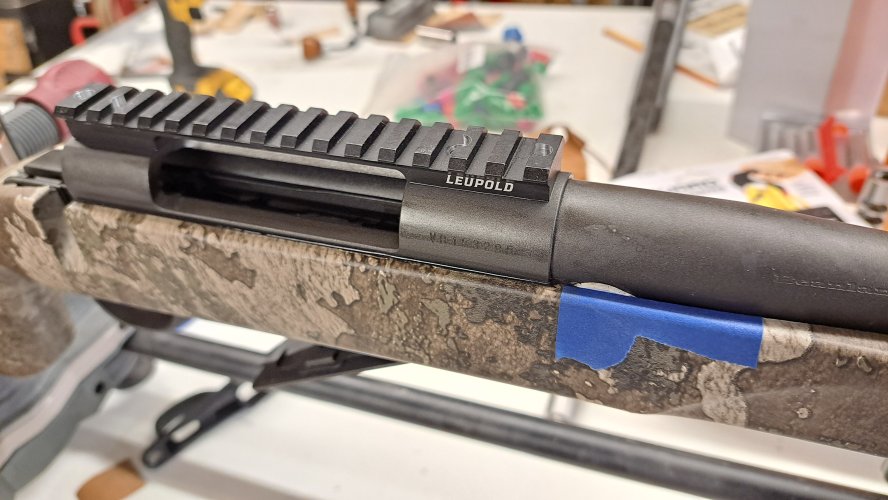
Most bedding compounds take 24hrs to cure.
Once cured remove your action screws. Flip the rifle over and lay a folded soft rag over the barrel just in front of the forend. Give it a few taps with a mallet and the action will pop loose. Light taps do the job, don't beat it up. Alternatively you can tap the top of the receiver or use a receiver jack to pull it free.
You'll have some cleanup to do. Files, chisels, sandpaper, Dremel or whatever works and you're comfortable with. I use a mill because I have one and its fast and clean.
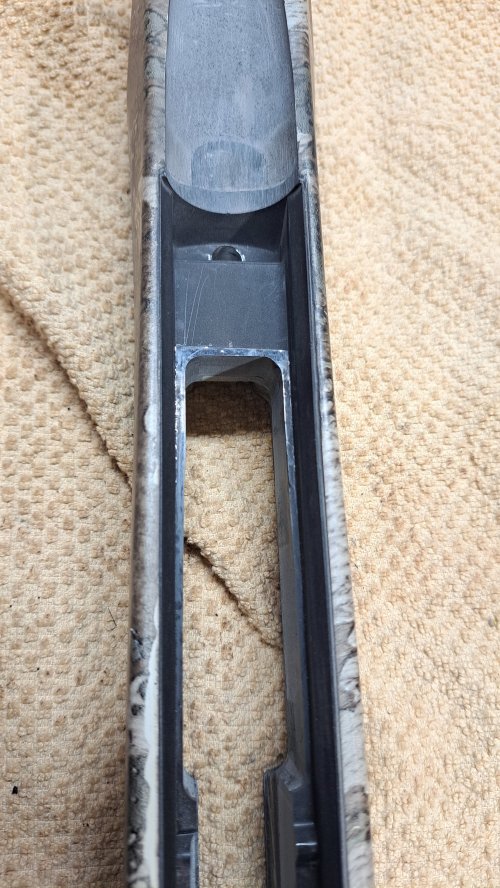
Do some dry fitting before you try to screw everything together. Make sure nothing is binding and everything works like it's supposed to.
When you torque your action screws you should have zero movement in relation to the stock/barreled action. I check this in the shop with a DTI mounted to the barrel and reading on the forend. You can check at home by holding a finger against the barrel and stock. You'll be able to feel movement even if you can't see it.
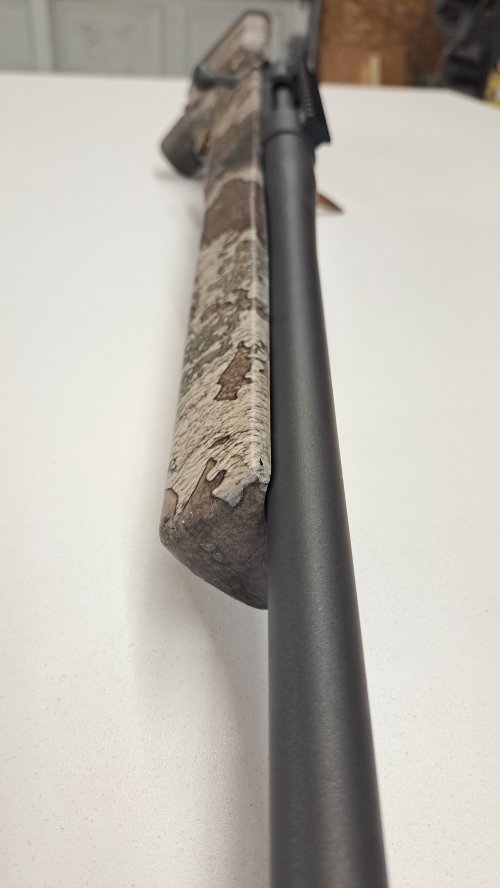
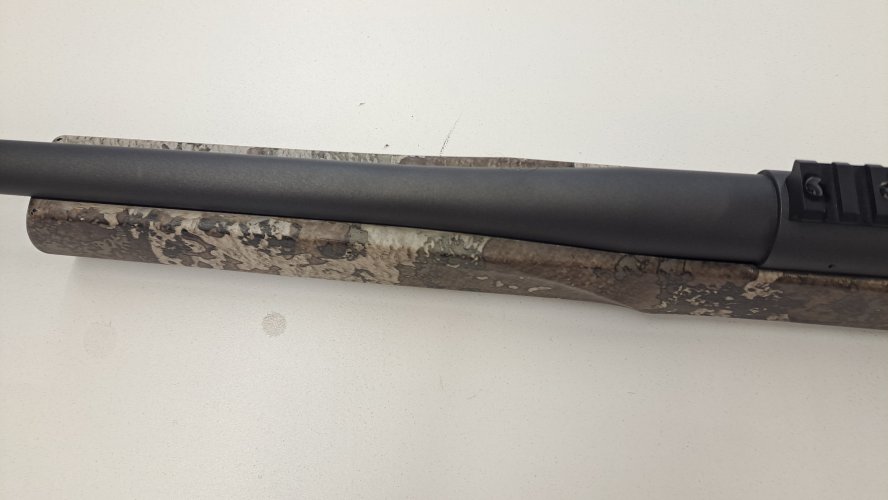
Lastly, check that you're properly free floated and that your barrel is still centered. If it shifted you have stresses in your bedding.
I can address questions and further elaborate as needed.
This example is on a Weatherby Vanguard.
I use Marine-Tex for my bedding compound.
First step is to prep the action and stock. Make sure there is enough room for the action to slide into the stock and have a touch of wiggle. Sand it with no finer than 150 grit and it doesn't hurt to add divots with a Dremel tool for mechanical hold. Fill any opening where compound may get and lock the action in place. I use clear packing tape cover large areas and modeling clay for smaller openings. If you use packing tape make sure it's not anywhere you WANT to have contact.
For traditional tombstone style recoil lugs you'll want to add tape to the bottom, front, and sides of the recoil lug.

Put a ring of vinyl tape on the barrel towards the end of the barrel channel. It should fill the channel but not require force to seat. This is what centers your barrel in the channel. You'll want a small area of contact on the rear tang to set how deep the action sits in the stock.

This stock is getting pillars installed. Wrap your action screws with tape so they slide into pillars easily. Drill your pillar holes in the stock oversized so they can set where they need to without causing stress.
Put your chosen release agent on everything you don't compound to stick to. I use Brownell's Acra Release aerosol. Don't forget your mounting hardware, the inside of the action, the entire barrel, and the inner bore of your pillars.

You can either get the pillars set in place first or screw them to the action and set everything in place that way. Which method you use depends on whether you're bedding the bottom metal or not.

Mix your bedding compound with a stirring motion. Do not fold it as it can trap air. If you are using Acra glass and notice it seems chunky, hit it with a hair dryer or heat gun on the low setting. The catalyst likes to be above a certain temp to smooth out.
Apply bedding material to your inletting. Do so in a fashion as to not introduce a bunch of air bubbles. Spread it evenly and don't whip it up. Apply compound to your action as well. This helps reduce any voids in the finished product. You'll want to pay special attention to any inside corners such as the recoil lug area. On flat bottom actions you need to add additional compound where the upper receiver radius meets the square portion of the bottom section.

Place the action into the stock. If you're not bedding the bottom metal or adding pillars: make some studs the same thread as your action screws (cut the heads off some bolts. 1/4-28 is the most common). Use these to locate your action. Use either surgical tube or electric tape wrapped around the stock and action to hold it in place.
Adding pillars not bedding BM: screw pillars to bottom of receiver prior to applying bedding material. Secure with tape or surg. tube.
Bedding bottom metal: use your action screws to pull the action into place. You only want to use enough pressure to set the action where it needs to be but don't go past snug. Once it's in place back off your screws and leave them finger tight.

Marine-Tex will clean up with water. Acetone also works well if your stock finish can take it. I use wetted Q-tips to clean up all the squeeze out that I can get to. Reach up through the mag well if you can and clean up the bottom side as well.


Most bedding compounds take 24hrs to cure.
Once cured remove your action screws. Flip the rifle over and lay a folded soft rag over the barrel just in front of the forend. Give it a few taps with a mallet and the action will pop loose. Light taps do the job, don't beat it up. Alternatively you can tap the top of the receiver or use a receiver jack to pull it free.
You'll have some cleanup to do. Files, chisels, sandpaper, Dremel or whatever works and you're comfortable with. I use a mill because I have one and its fast and clean.

Do some dry fitting before you try to screw everything together. Make sure nothing is binding and everything works like it's supposed to.
When you torque your action screws you should have zero movement in relation to the stock/barreled action. I check this in the shop with a DTI mounted to the barrel and reading on the forend. You can check at home by holding a finger against the barrel and stock. You'll be able to feel movement even if you can't see it.
Lastly, check that you're properly free floated and that your barrel is still centered. If it shifted you have stresses in your bedding.


I can address questions and further elaborate as needed.
Attachments
Last edited:


